November 24, 2016–
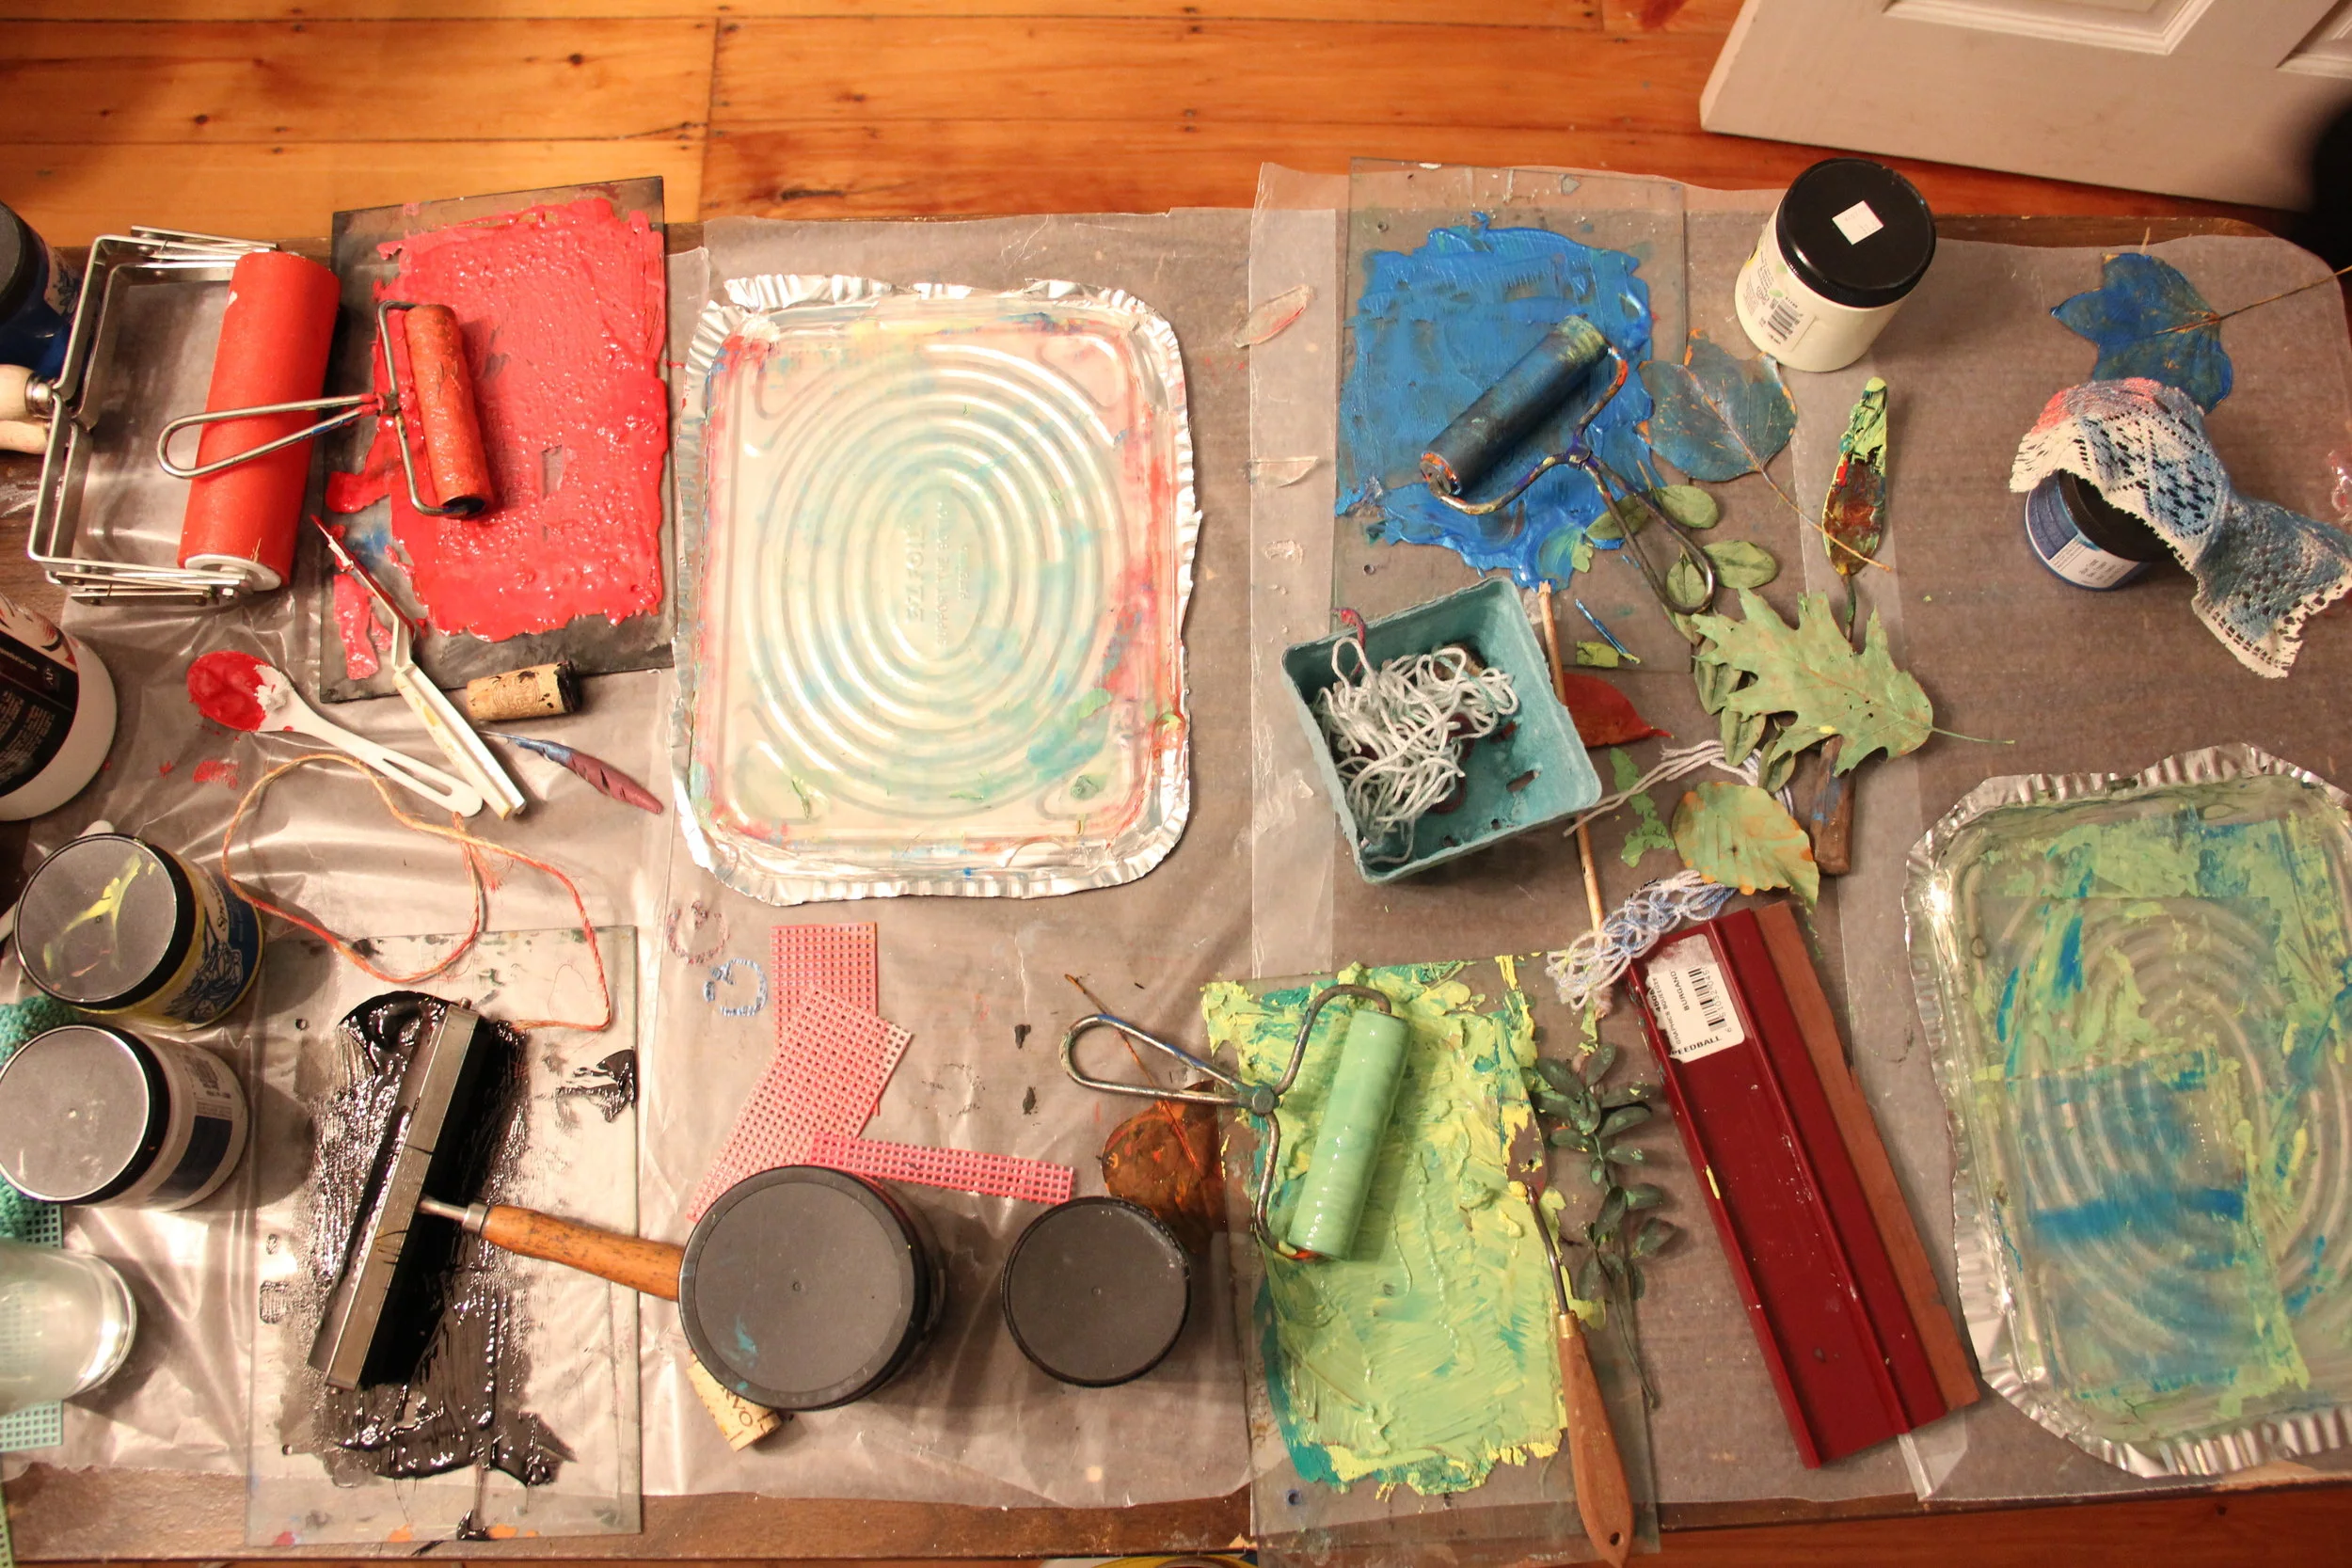
Sometimes we open our studio for gatherings. This month we invited friends to let out their political grief over printmaking. We set gelatin trays over night, collected materials, and popped open a few bottles of wine. Gelatin printing is addictive, has endless possibilities, and all the repetition feels therapeutic. It's fun in groups-- sharing objects, collaborating on a print, swapping ideas... you don't have to be a sophisticated artisté to make this happen & enjoy it.
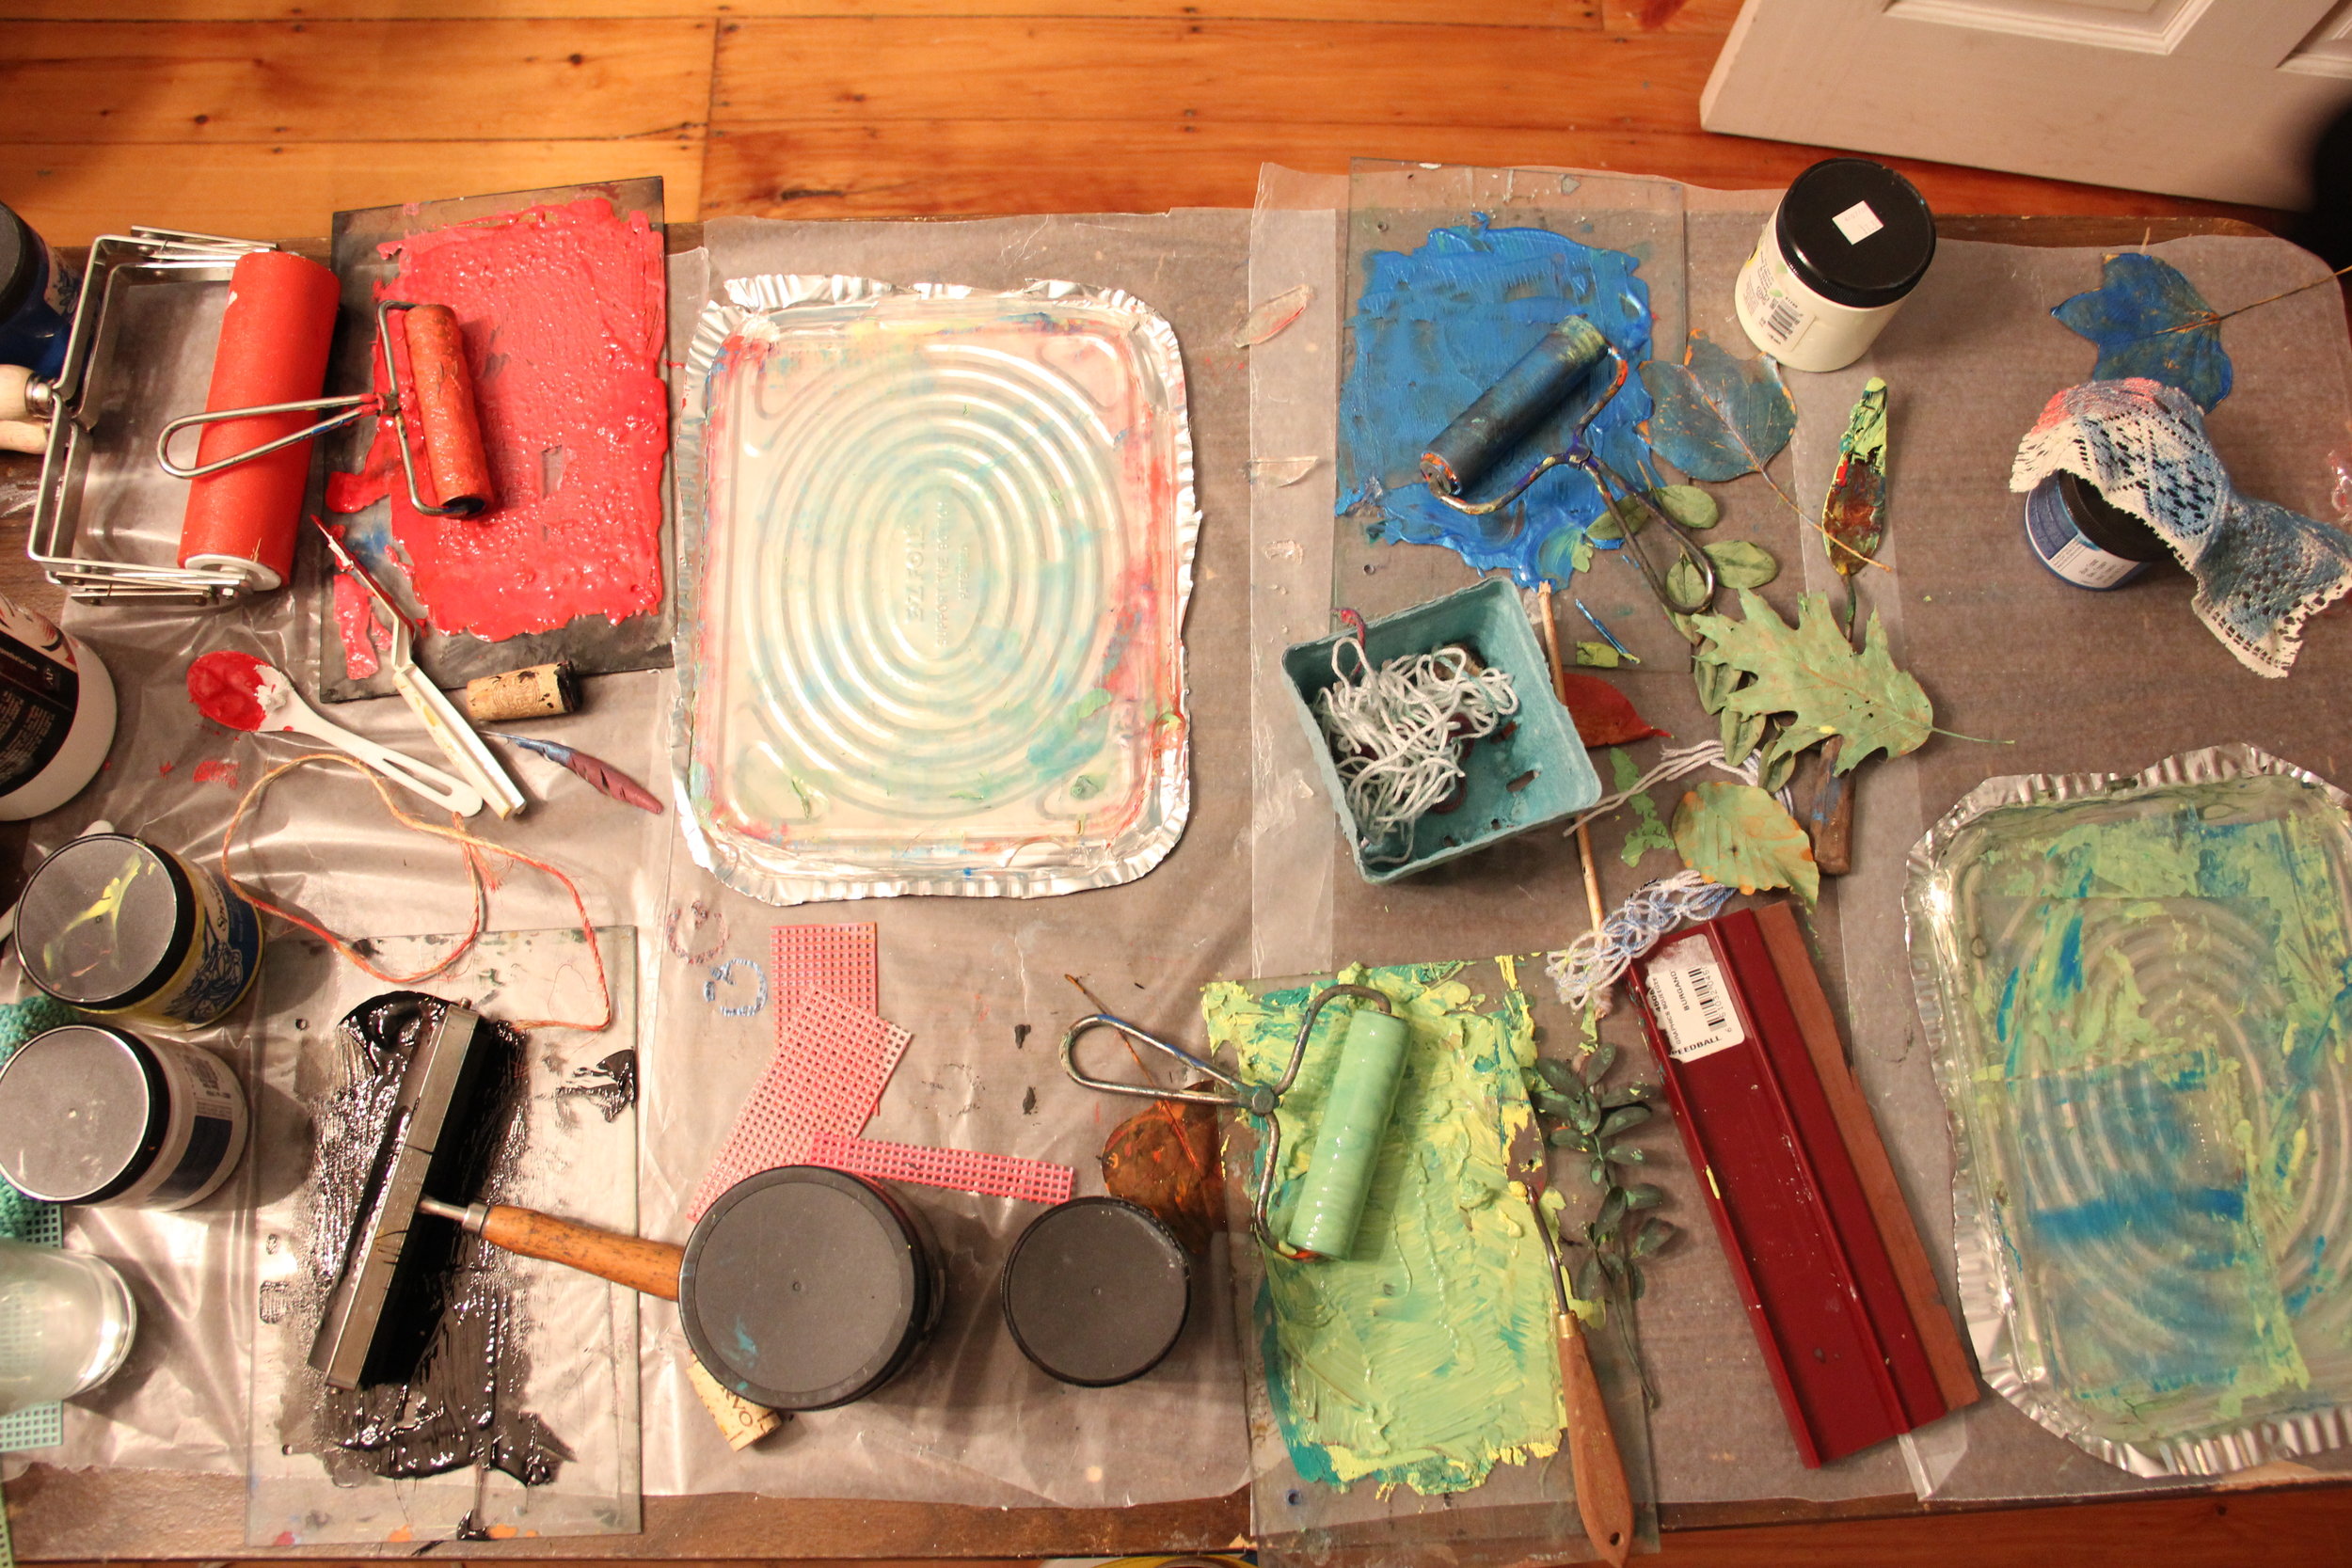
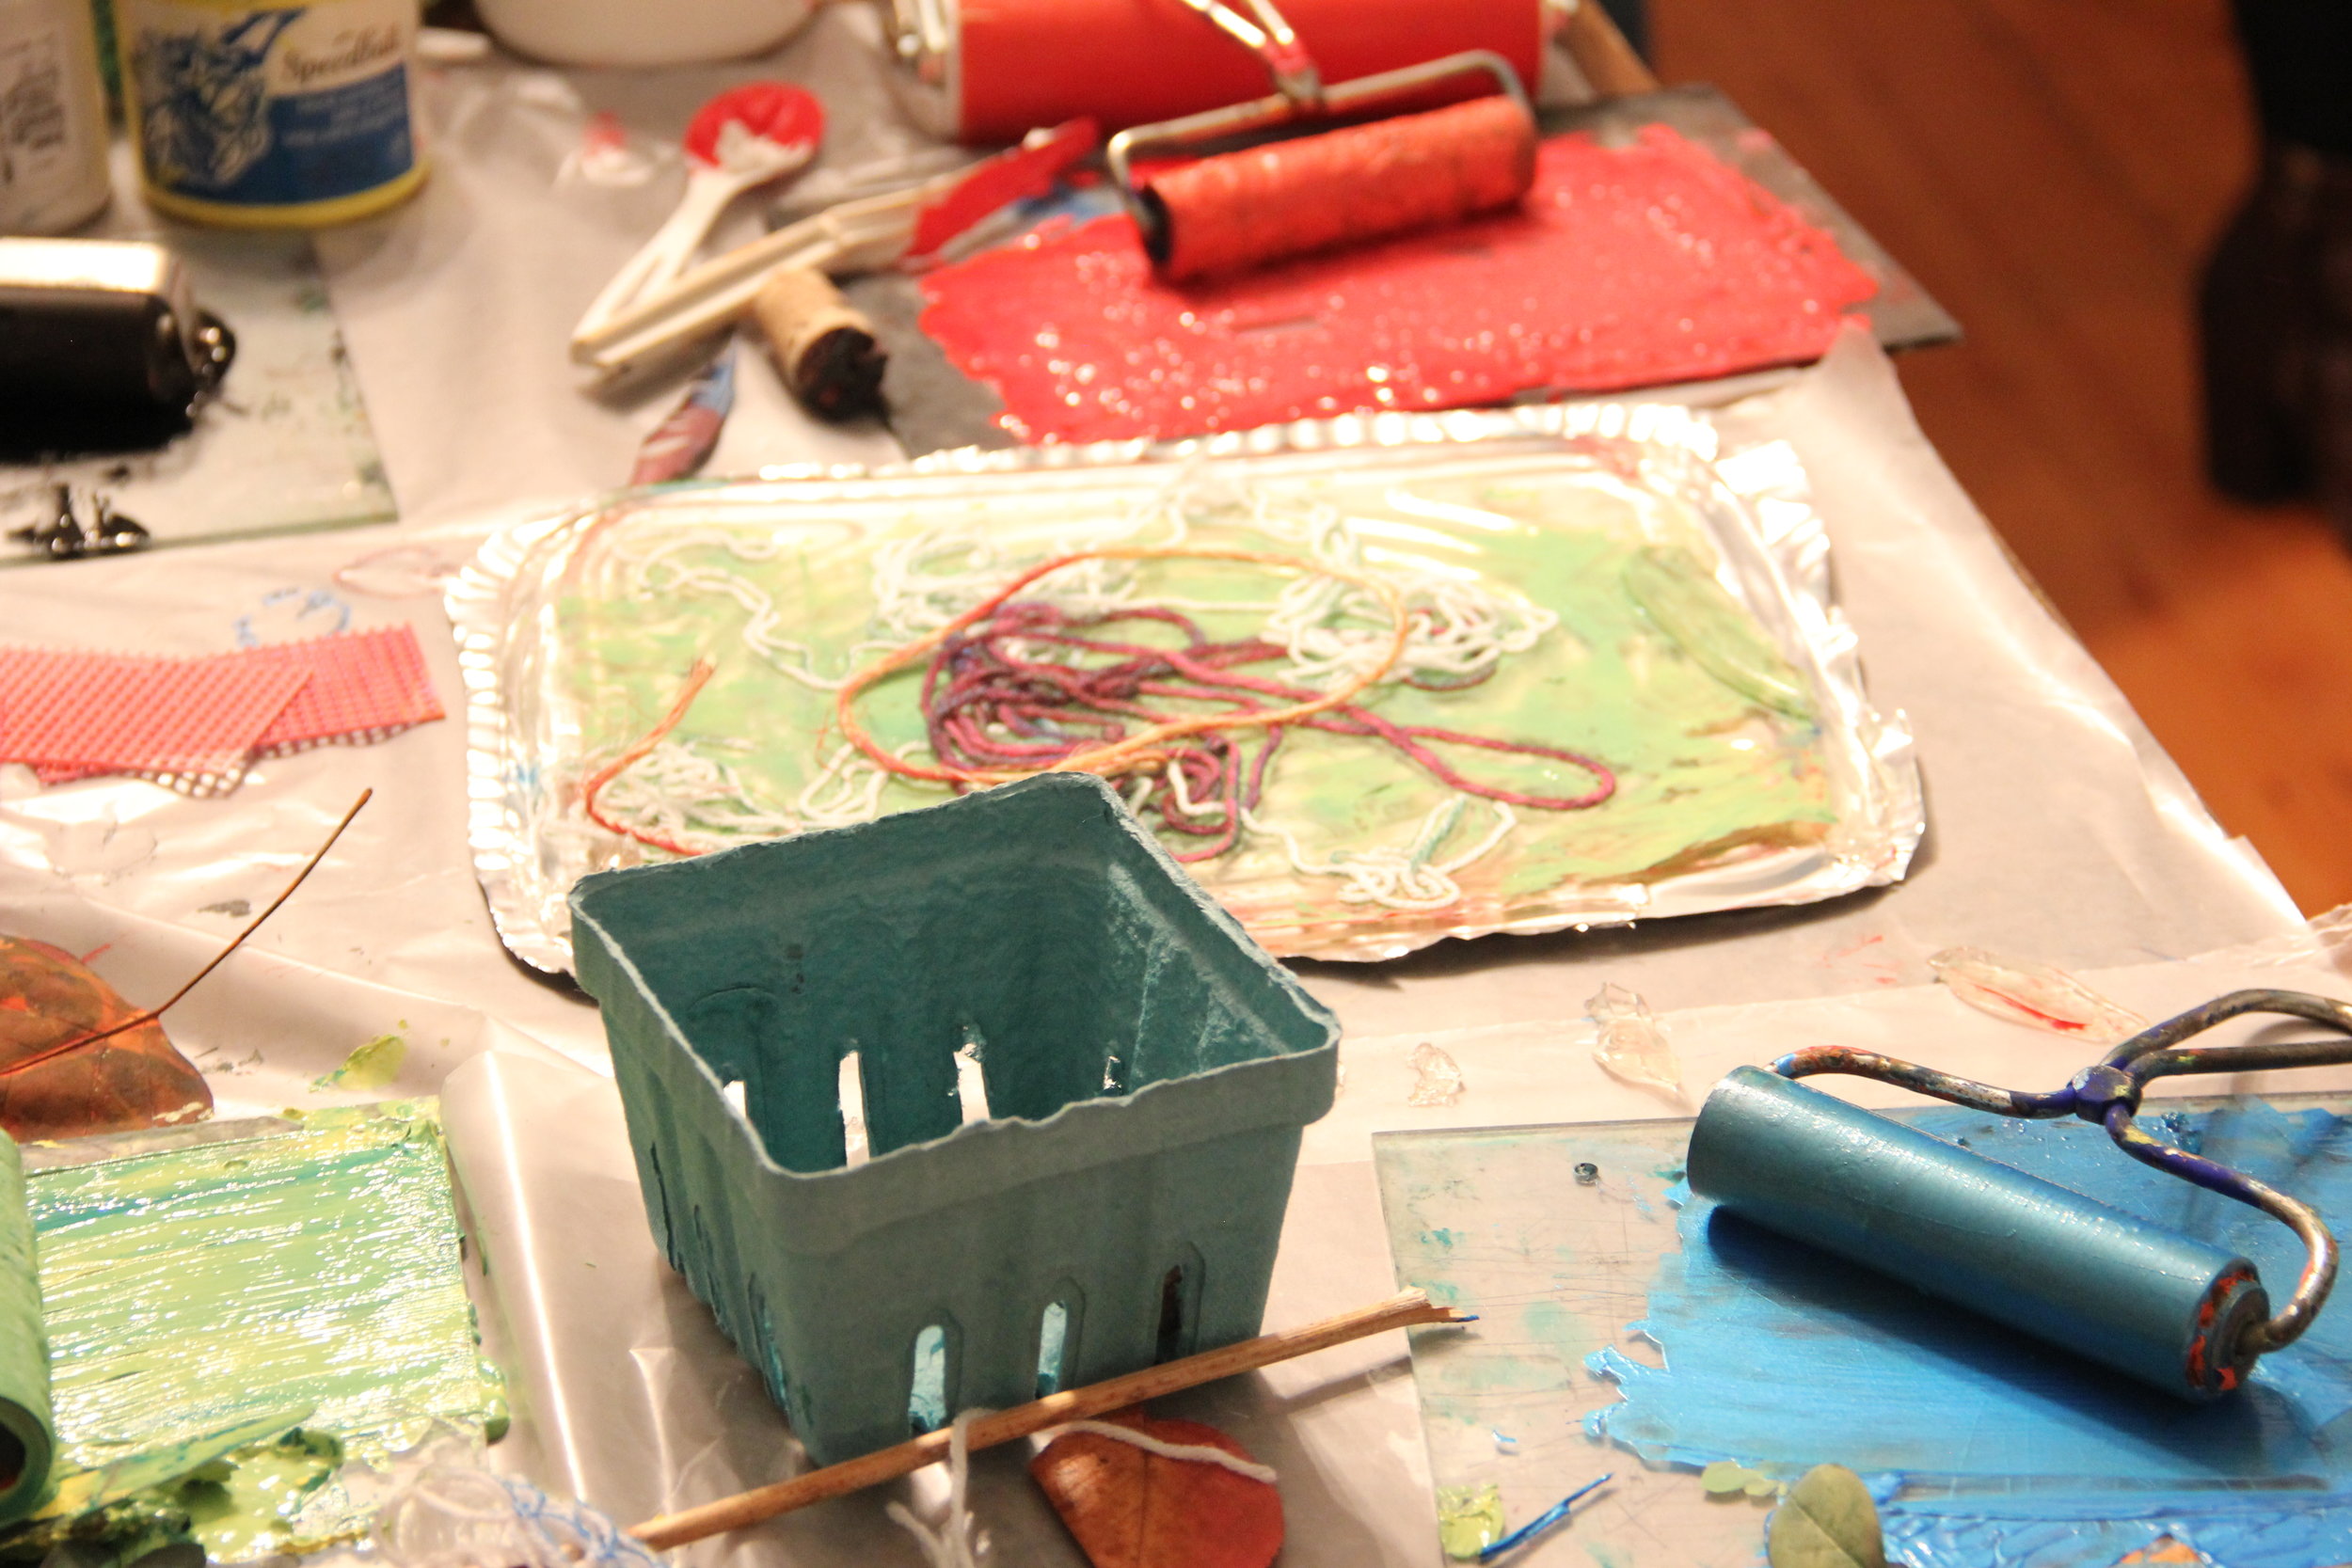
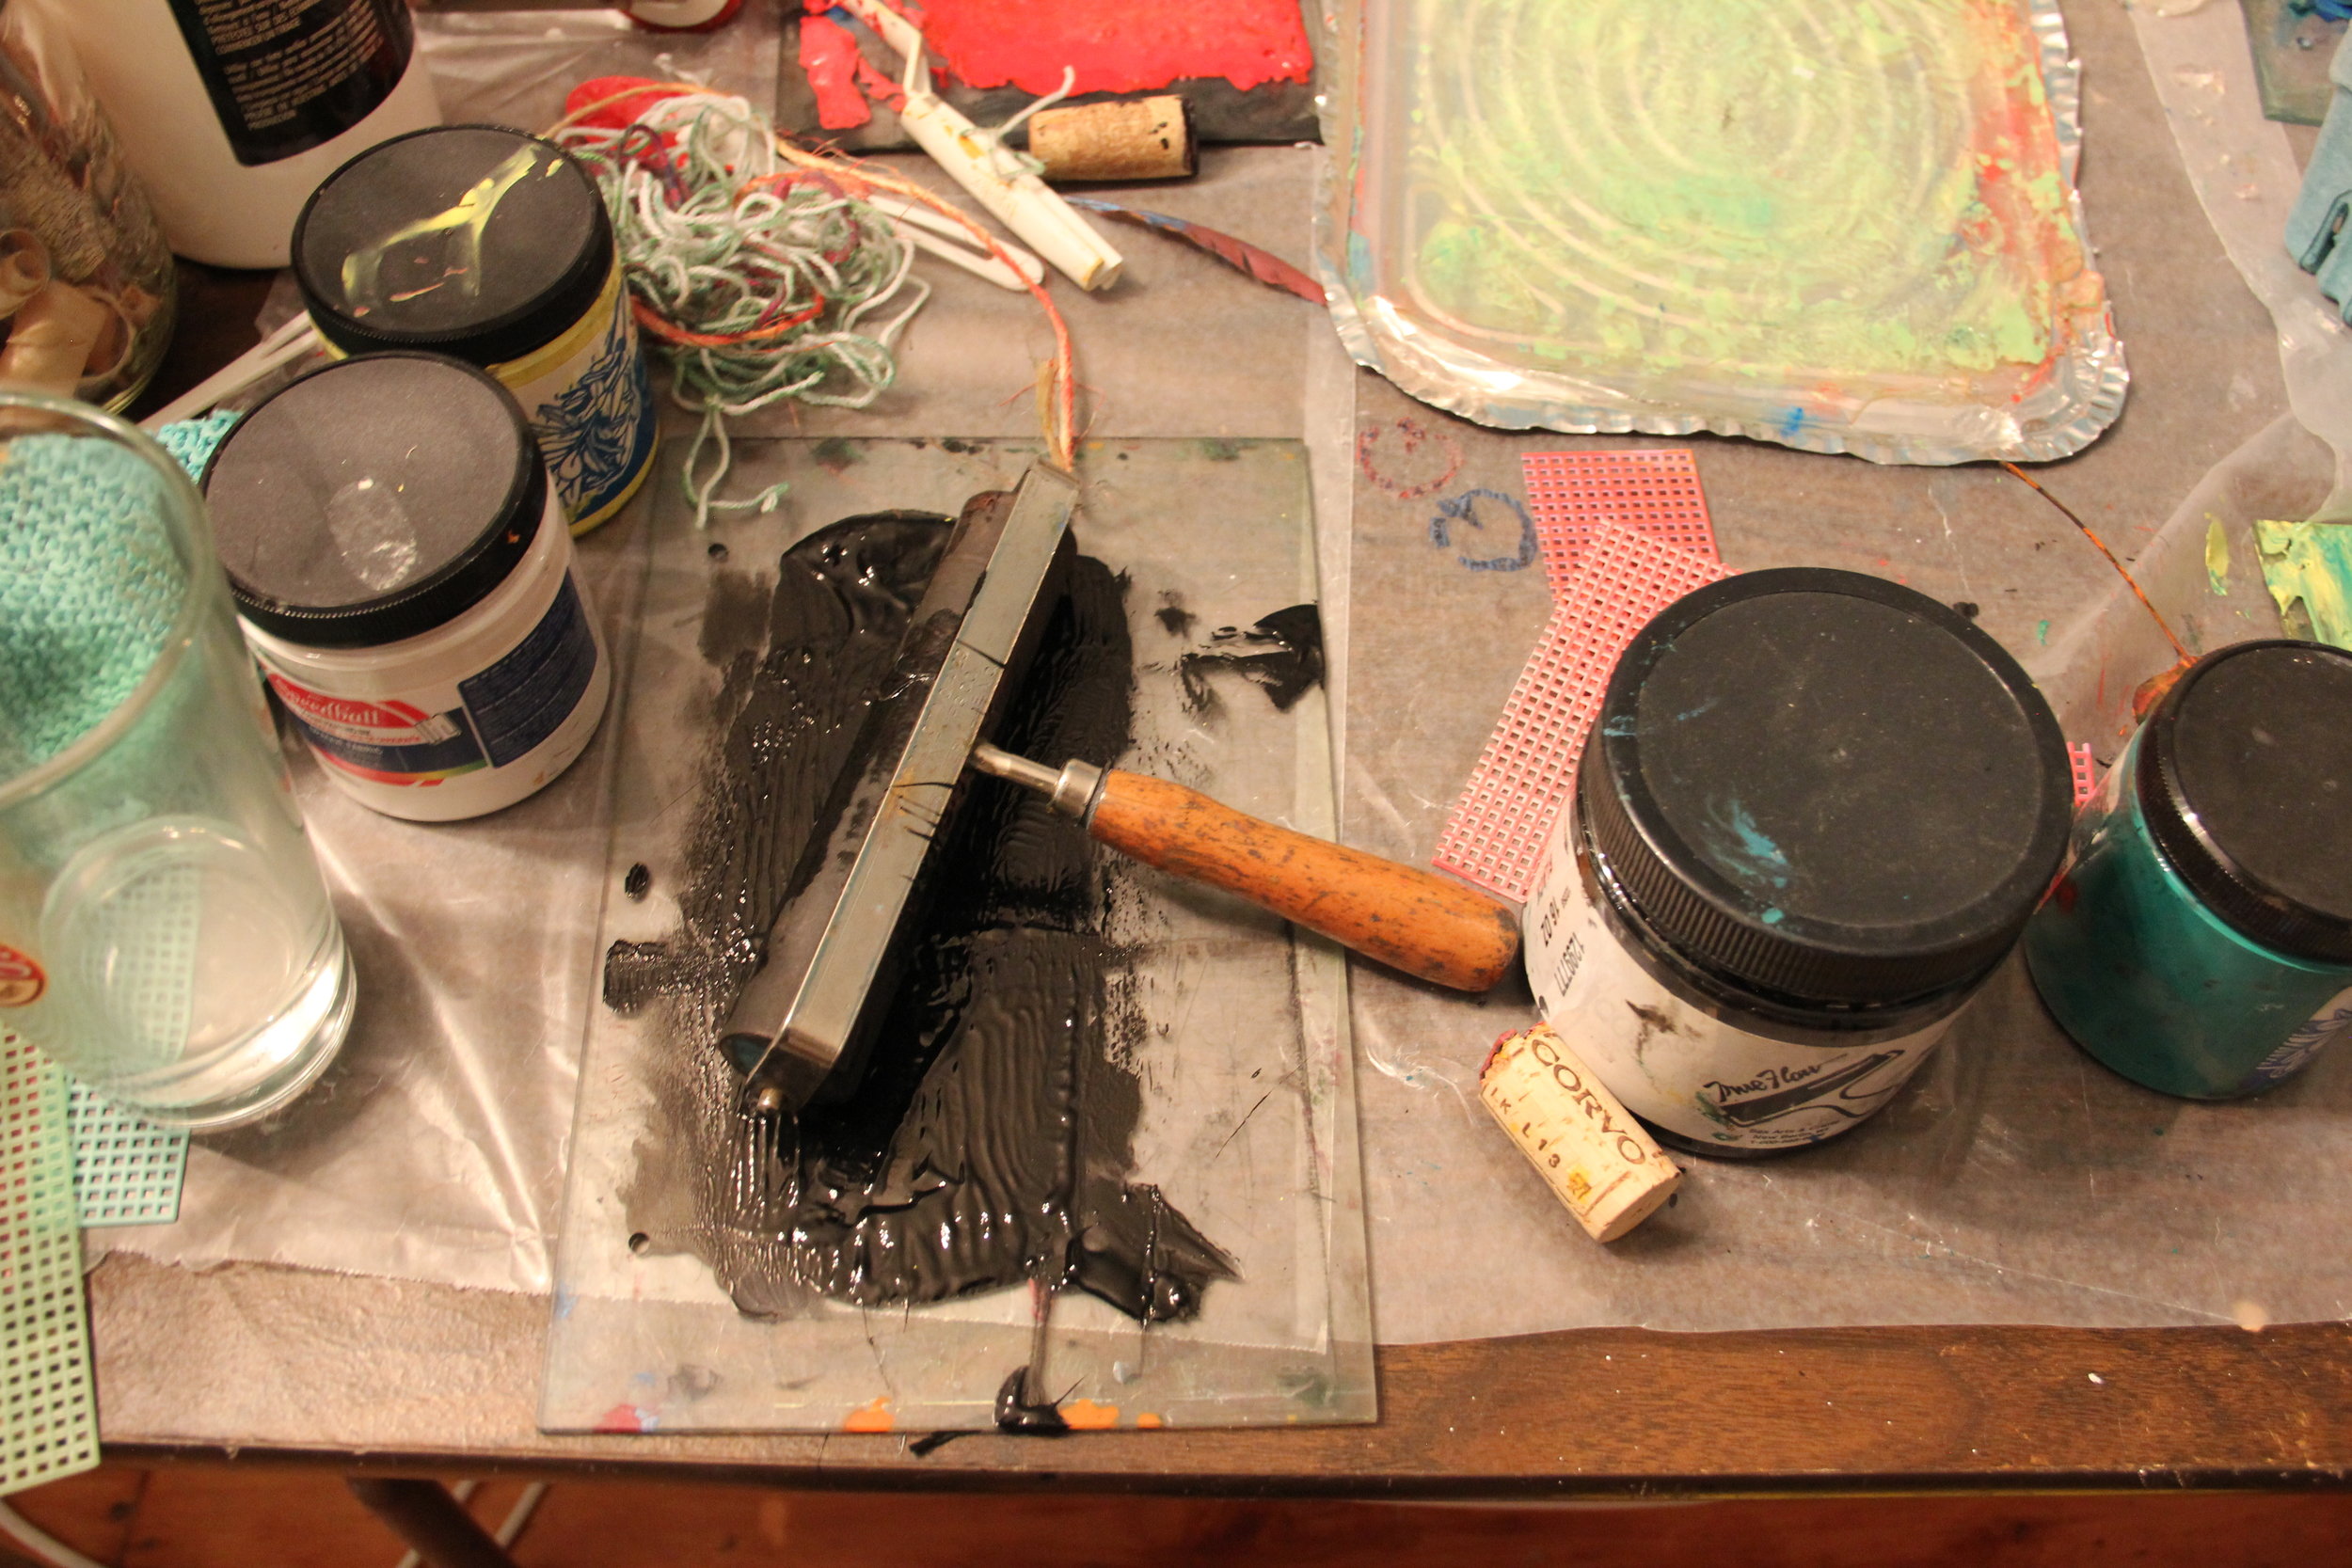
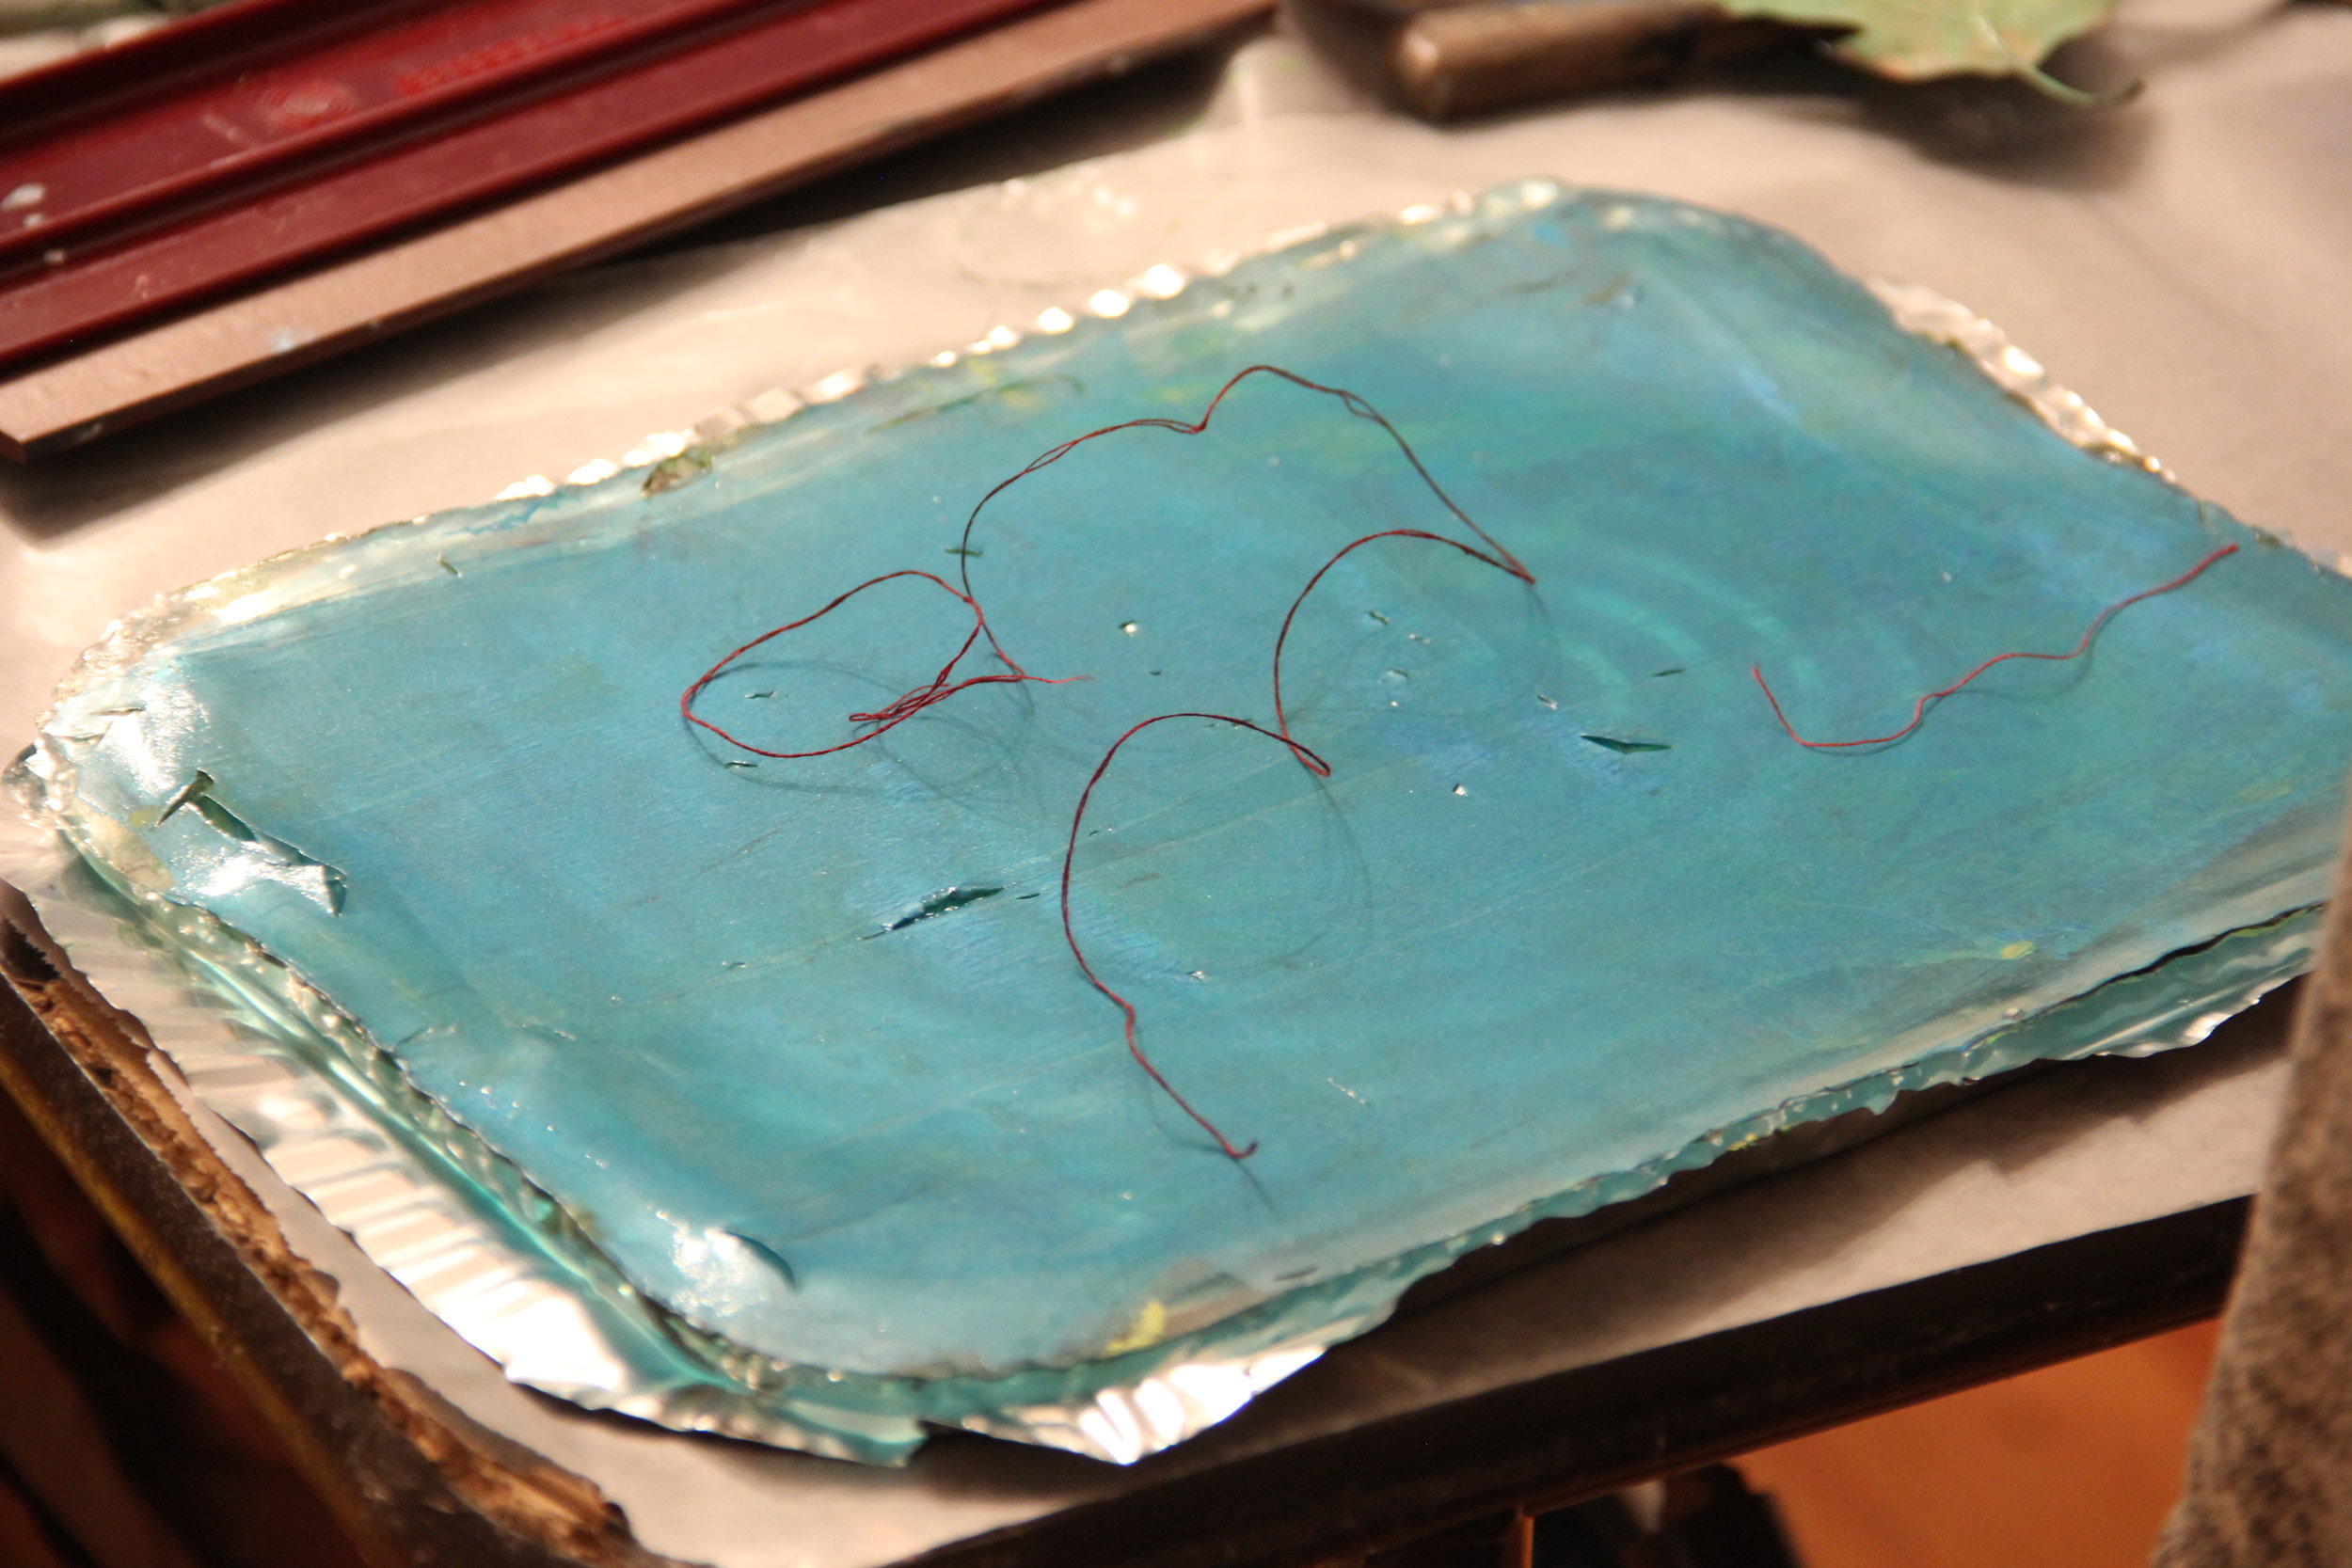
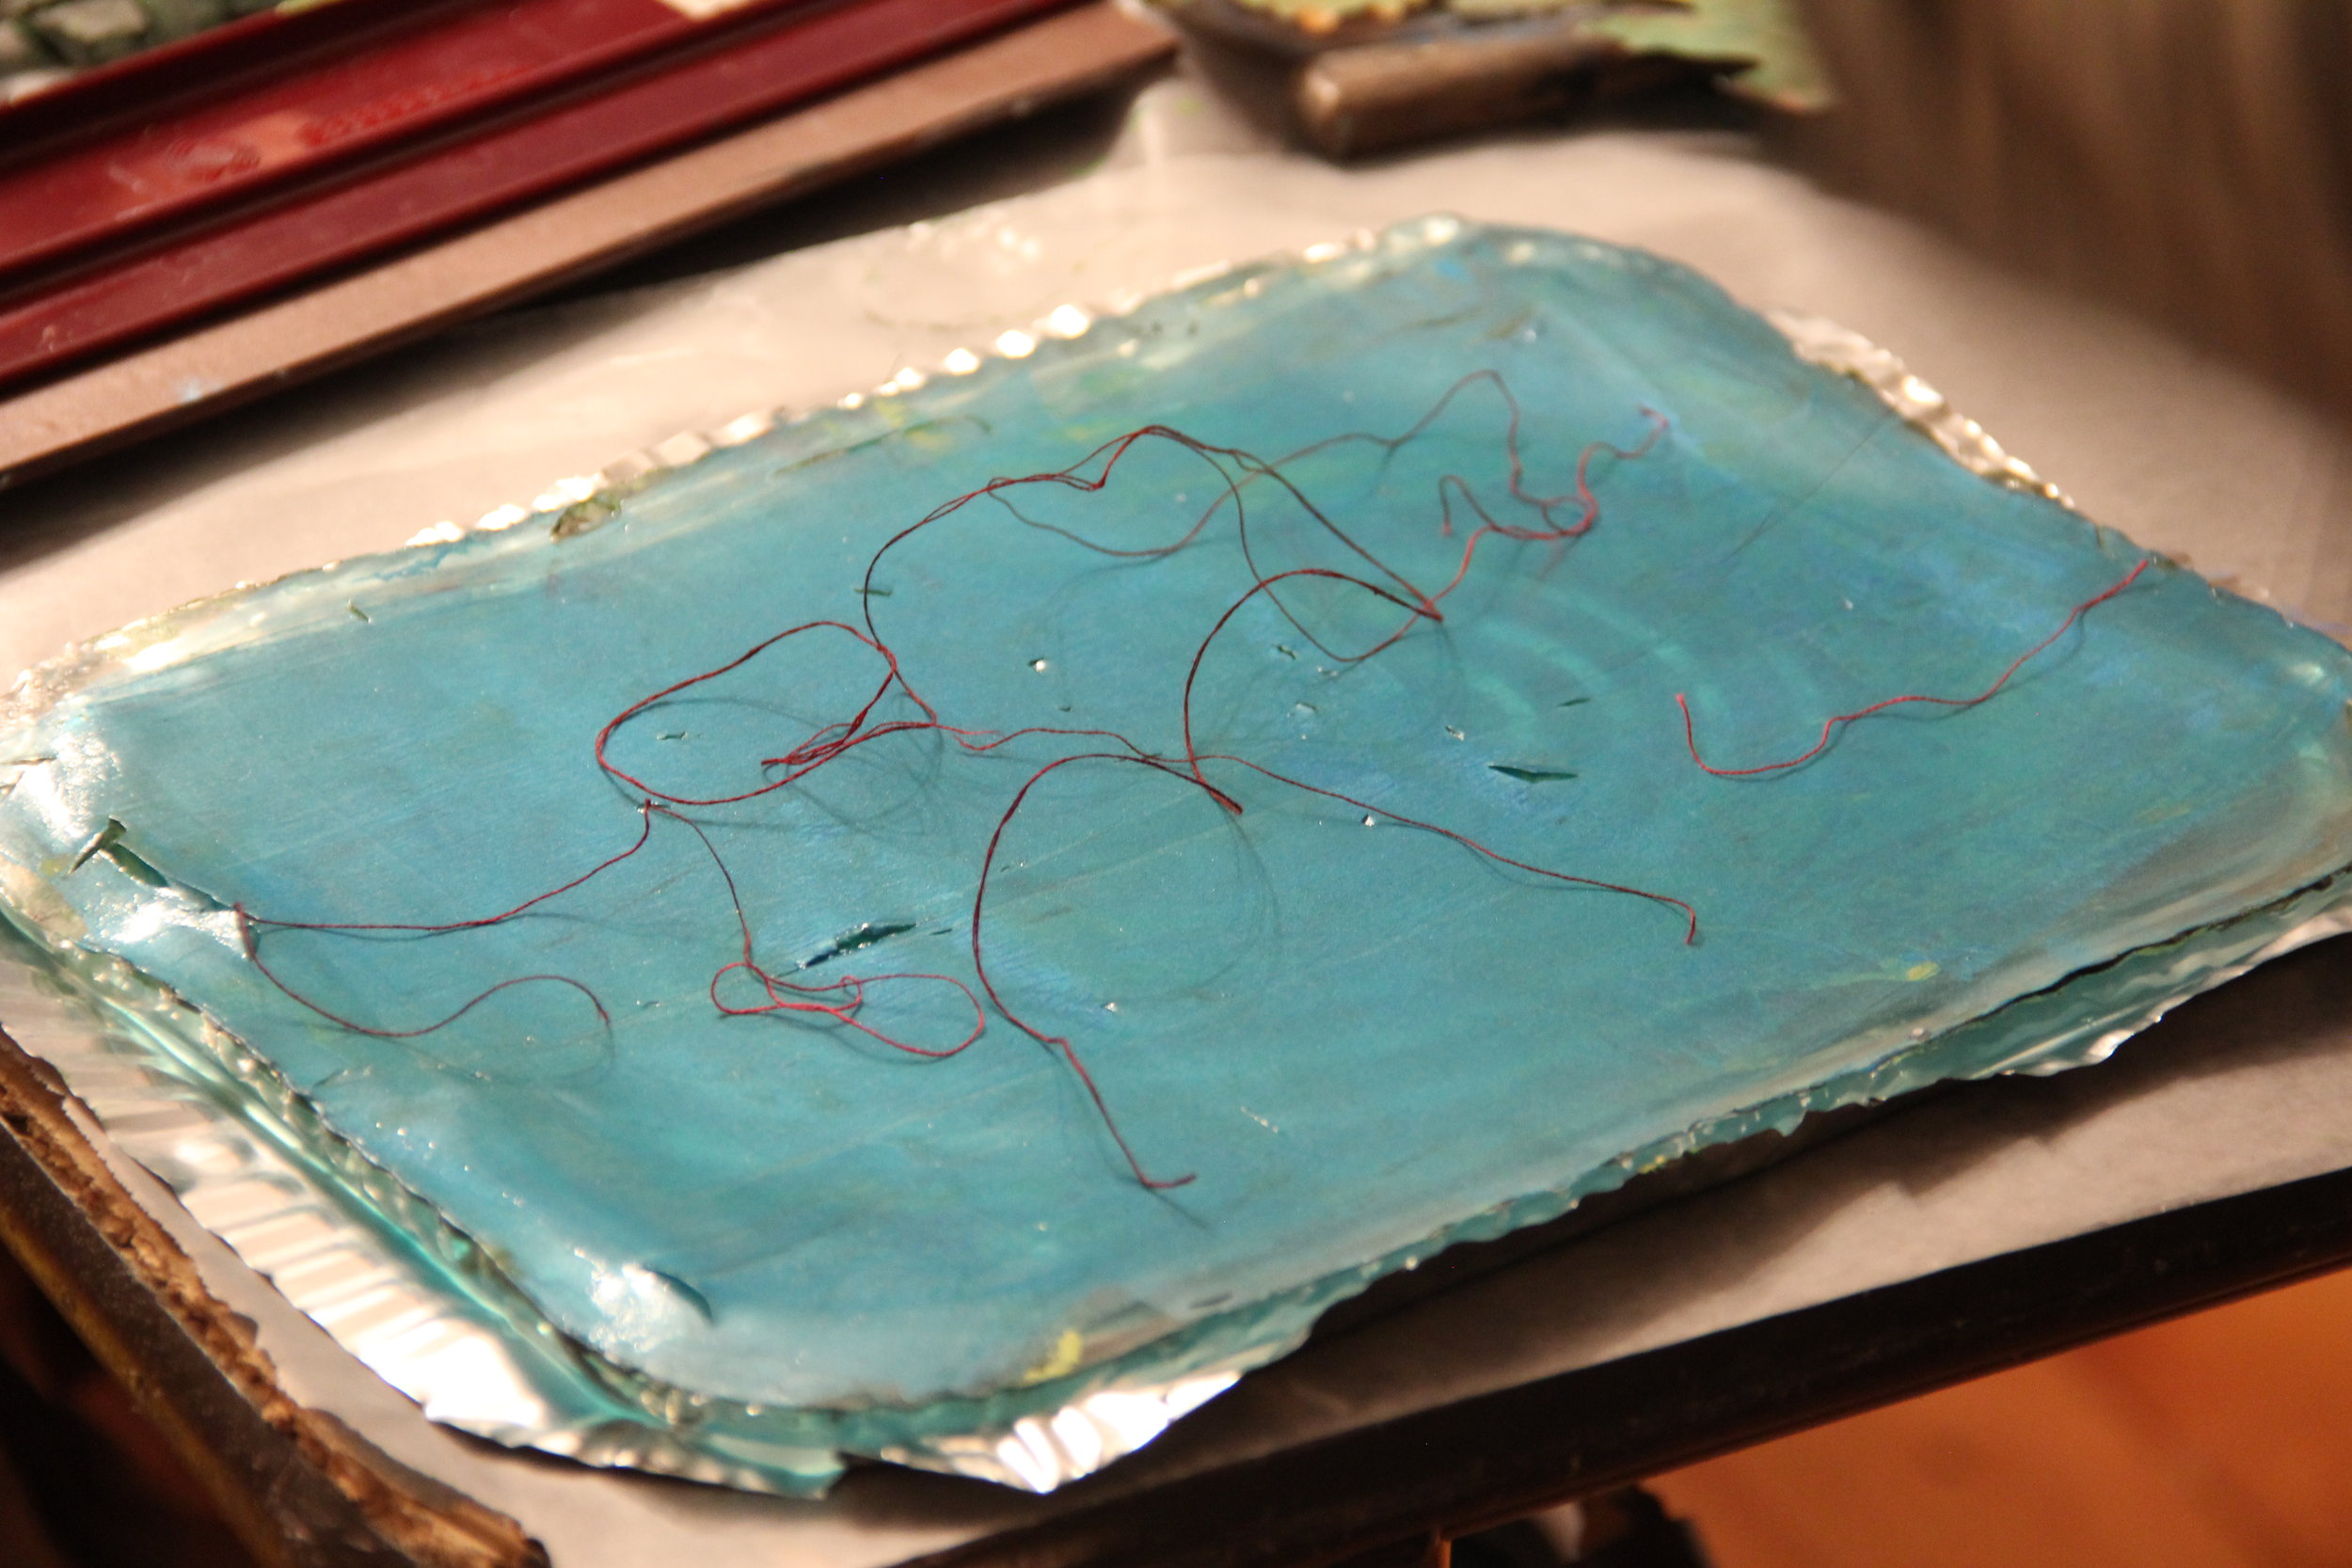
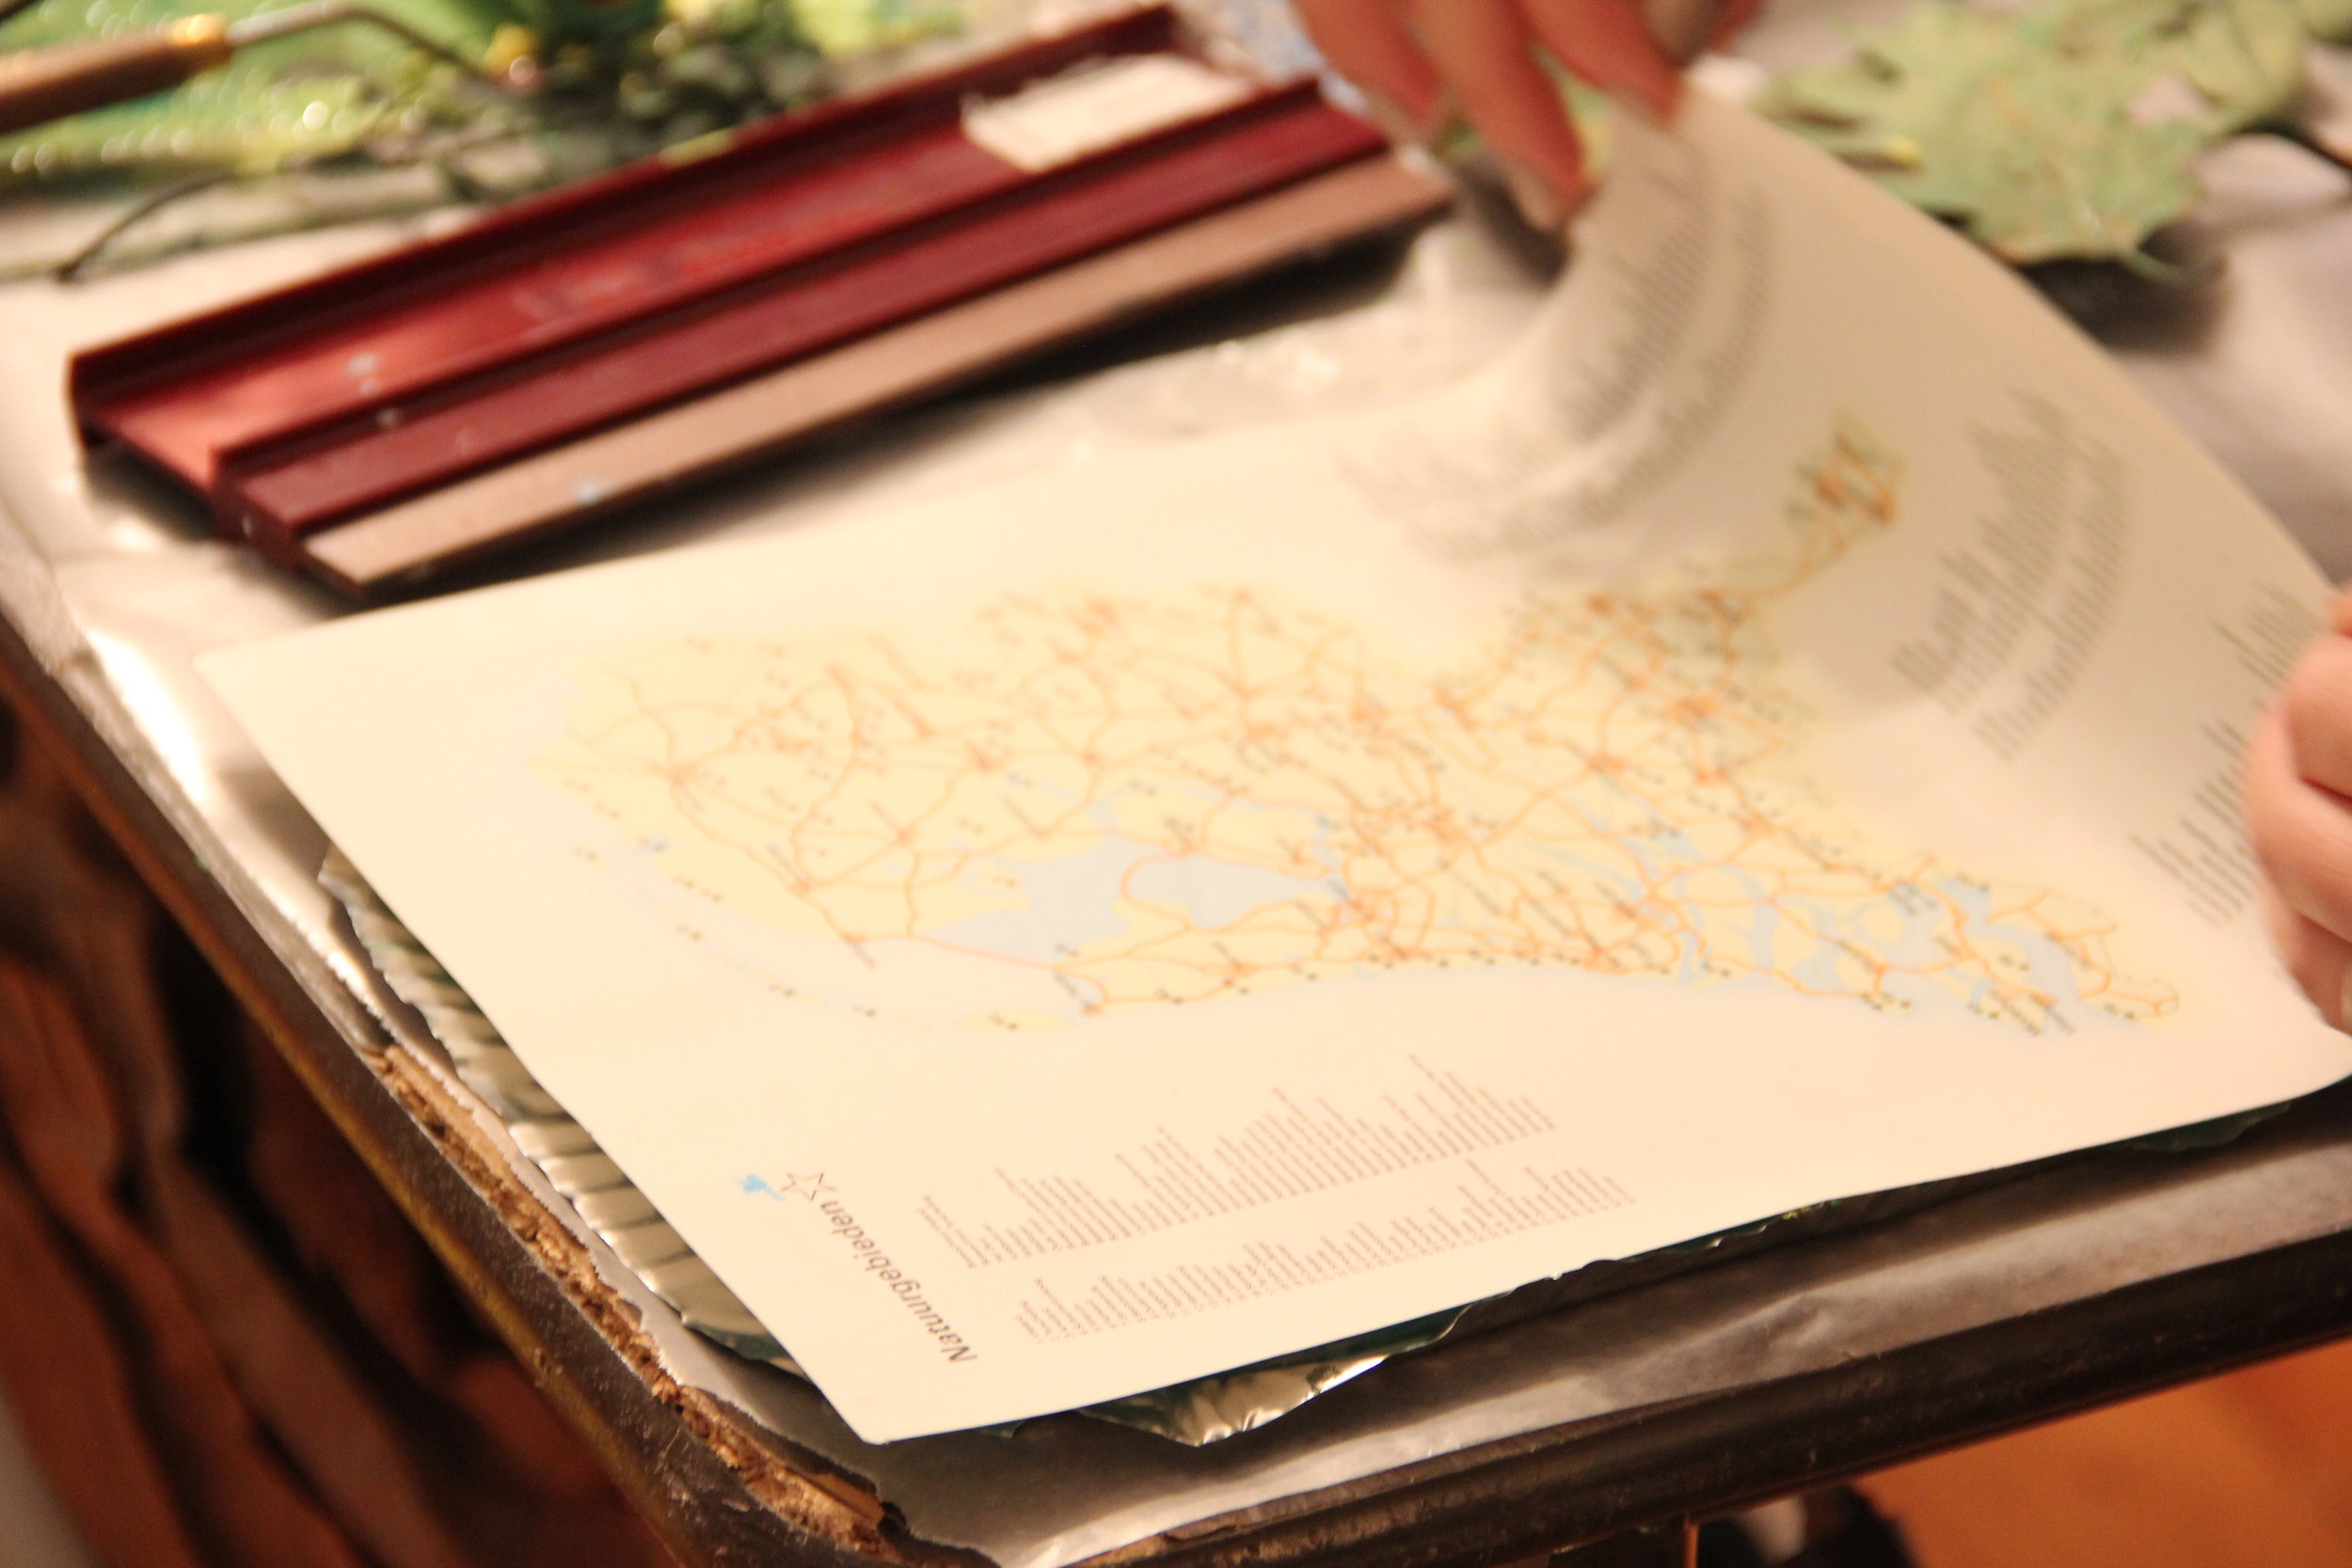
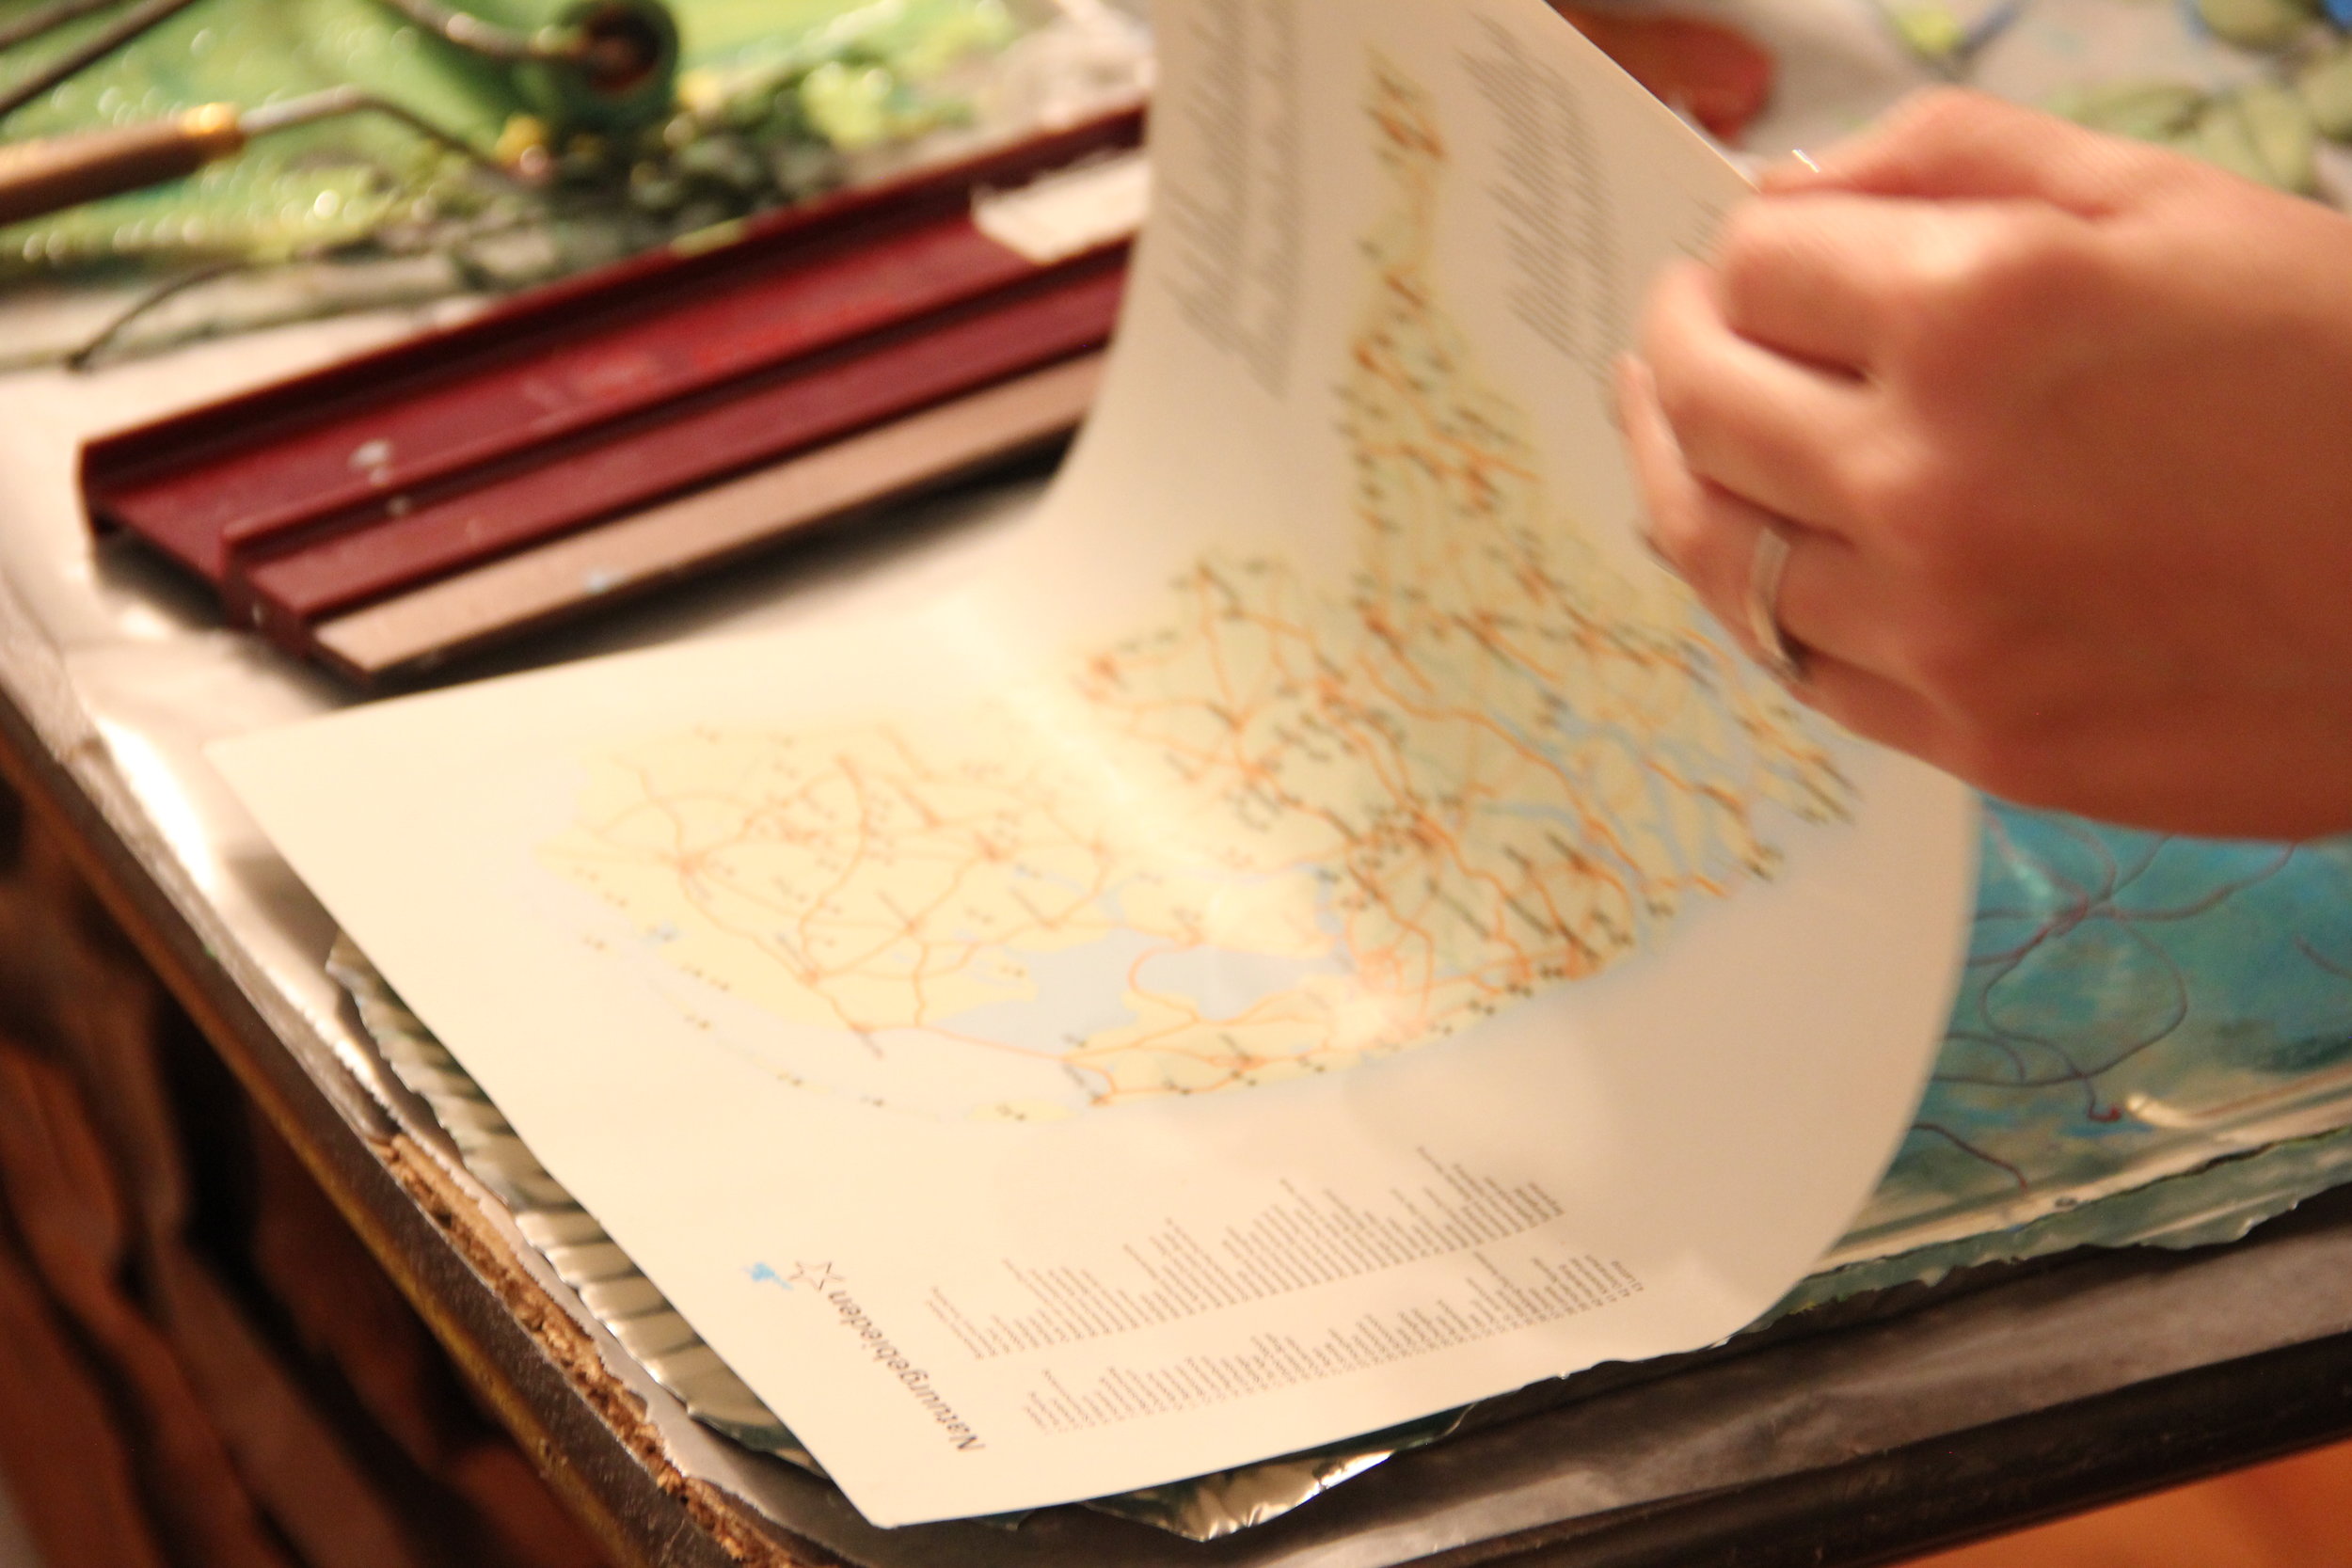
The photos below show the simple steps of printing on gelatin. Here we used blue block printing ink, a piece of string, and a paper map.
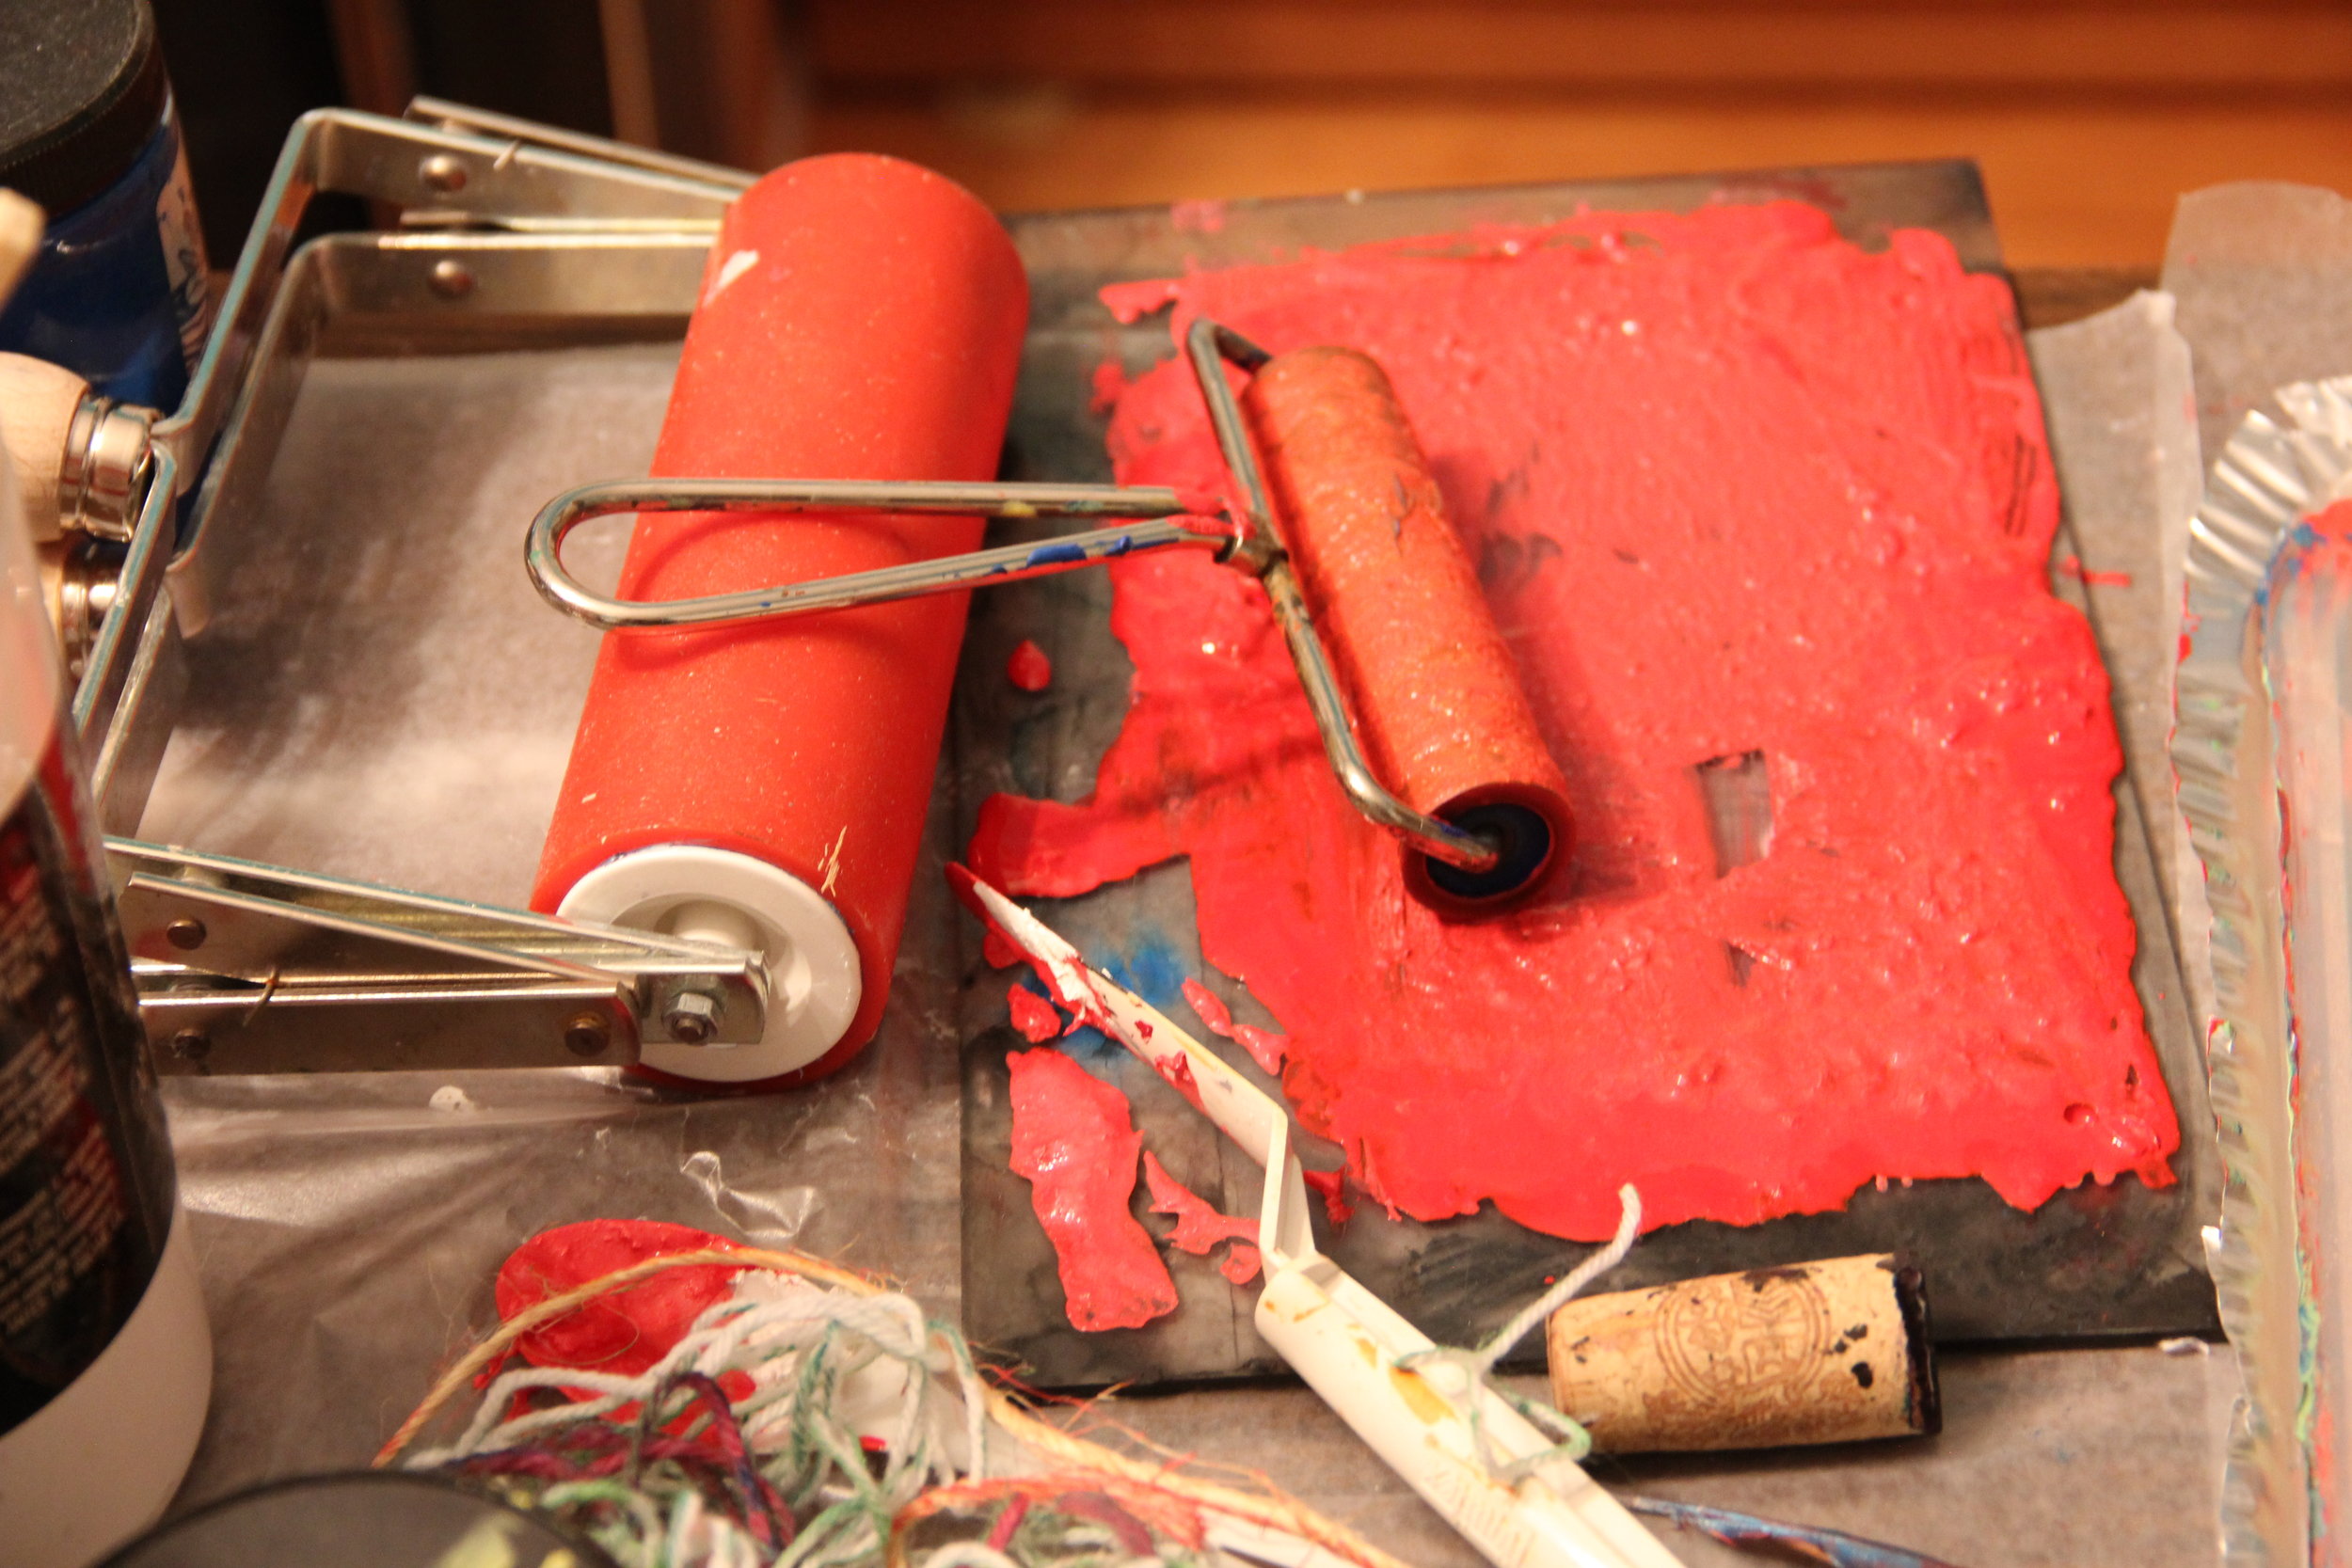
1. lightly roll ink onto gelatin with a brayer (block printing ink works best)
2. place an object like string on the inked gelatin. Lightly pat the object down without breaking the surface of the gelatin.
3. lift up the object. (And with it the ink will lift off the gelatin)
4. place your paper onto the gelatin. Smooth it down gently with your hands.
5. peel the paper back from one corner, slowly.
6. you will see the negative of your object printed on your paper.
+ try fabric instead of paper
+ try skipping step 3 and see what happens
+ try mixing ink colors directly on the gelatin
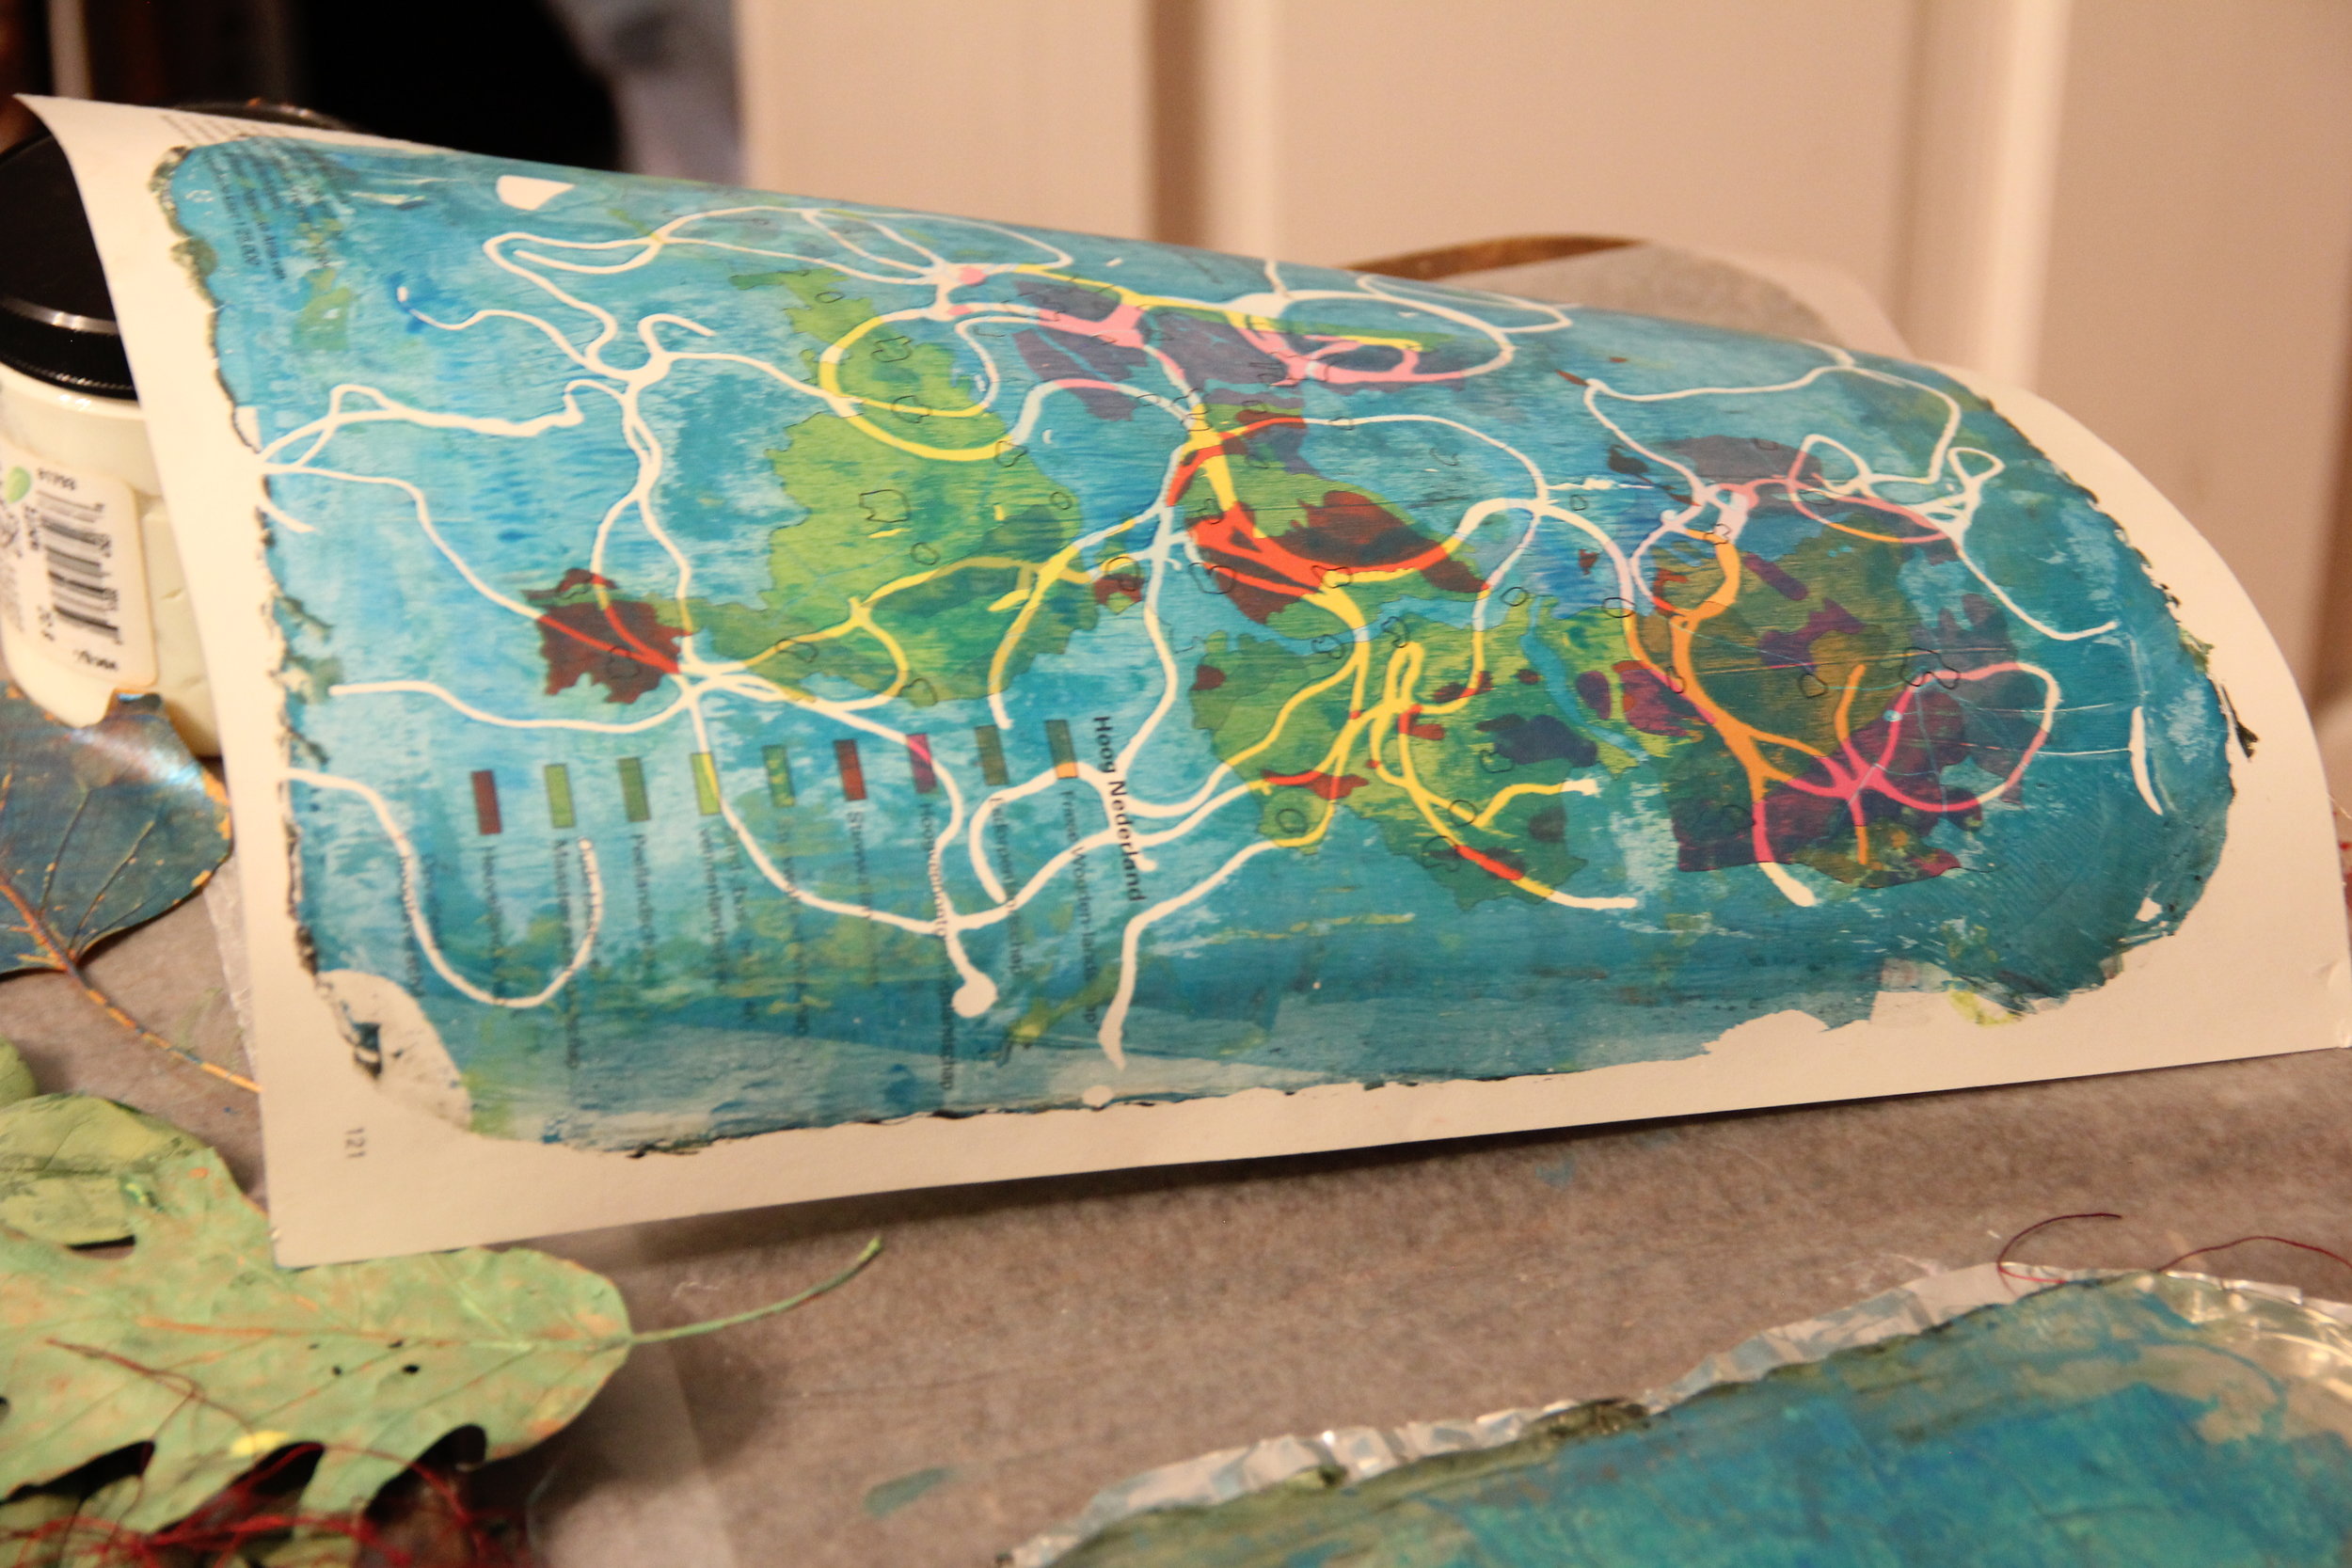
Sometimes its nice to get messy and lost in the process. We have a small stack of odd prints with bold shapes, loaded with color. We'll keep these tucked away for random projects (last minute cards, gift wrapping paper), or to brighten another dark day.